If you’ve never hiked before, getting started may feel intimidating and overwhelming. Gear and snakes and bears. Oh my!
But hiking isn’t that complicated or dangerous. It doesn’t take much more than finding a trail nearby and walking. Really – that’s it.
Below are a few tips to help beginners get started with hiking and enjoying the outdoors.
1. You don’t need boots

People have this idea that hiking requires sturdy boots. Absolutely not. Hiking is just walking. You can get started with any comfortable sneaker that you already have – ideally one with tread.
If you decide that you enjoy hiking, you can later buy a specialized pair of hiking shoes or boots if you want. I almost always wear lightweight trail runners and only wear boots in the winter.
2. Wear the right clothing
Don’t run out and buy hiking clothes. You probably already have clothing suitable for hiking – almost any comfortable athletic clothing will do. Stick to synthetic materials and wool that wick moisture away from your skin. Just avoid cotton and jeans since it absorbs water.
Especially if it’s cold, try to wear multiple lighter layers instead of one heavy layer. You will warm up as you hike, and this way you can add or remove layers to regulate your temperature.
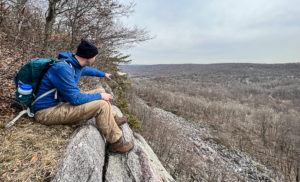
3. Carry some basic gear
Again, there’s no need to run out to REI. Grab any small backpack (your old one from high school will work just fine) and carry a few basic items to keep you comfortable and safe:
- A few liters of water (take more than you think, especially when you’re getting started)
- Some light snacks with electrolytes like trail mix, granola bars, fruit, candies, sports drinks, etc.
Why? The body needs electrolytes for the nervous system and muscles to function. When you exercise, the body loses water and electrolytes – especially sodium and chloride. That’s why athletes often consume sports drinks with electrolytes. You don’t need to buy sports drinks, but especially when it’s hot or if you are significantly exerting yourself, remember not just to stay hydrated, but to replenish electrolytes with the right foods.
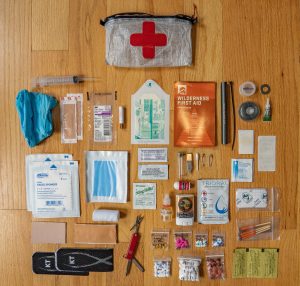
- A few basic first aid supplies in case of cuts or scrapes
- A flashlight or headlamp (even if you don’t plan to be out after sunset…you never know)
- A rain jacket (even if you don’t expect rain) and maybe a light insulting jacket in case it gets windy or cold
- Sunscreen and bug spray
4. Know some basic hiking etiquette
Hiking isn’t complicated, but it’s good to know some basic hiking etiquette.
Most importantly – practice Leave No Trace, which can be boiled down to “Take only pictures; Leave only footprints.” We can’t have zero impact, but we want to minimize our impact and leave the wilderness as close as possible to how we found it so others can enjoy it. That means carrying out all our trash, staying on trails so as to not cause more damage and erosion, and being respectful to others trying to enjoy the outdoors.
People go out to nature to listen to…nature. If you’re with friends, keep your conversation to a reasonable level and if you want to listen to music, wear headphones.
If you come across another hiker and the trail is narrow, whoever is going uphill has the right of way. Step aside for them unless they’re they’re tired or indicate they would like to stop. If someone faster than you is coming up from behind, let them pass.
If you bring a dog, keep it on a leash and under control and always pick up its waste.
5. Pick an easy trail
To get started, choose some easier trails that are shorter and flatter. Some options include:
- Fairy Trail – South Mountain Reservation (1.2 miles, nearly flat)
- Hemlock Falls – South Mountain Reservation (1.6 miles, +300 feet)
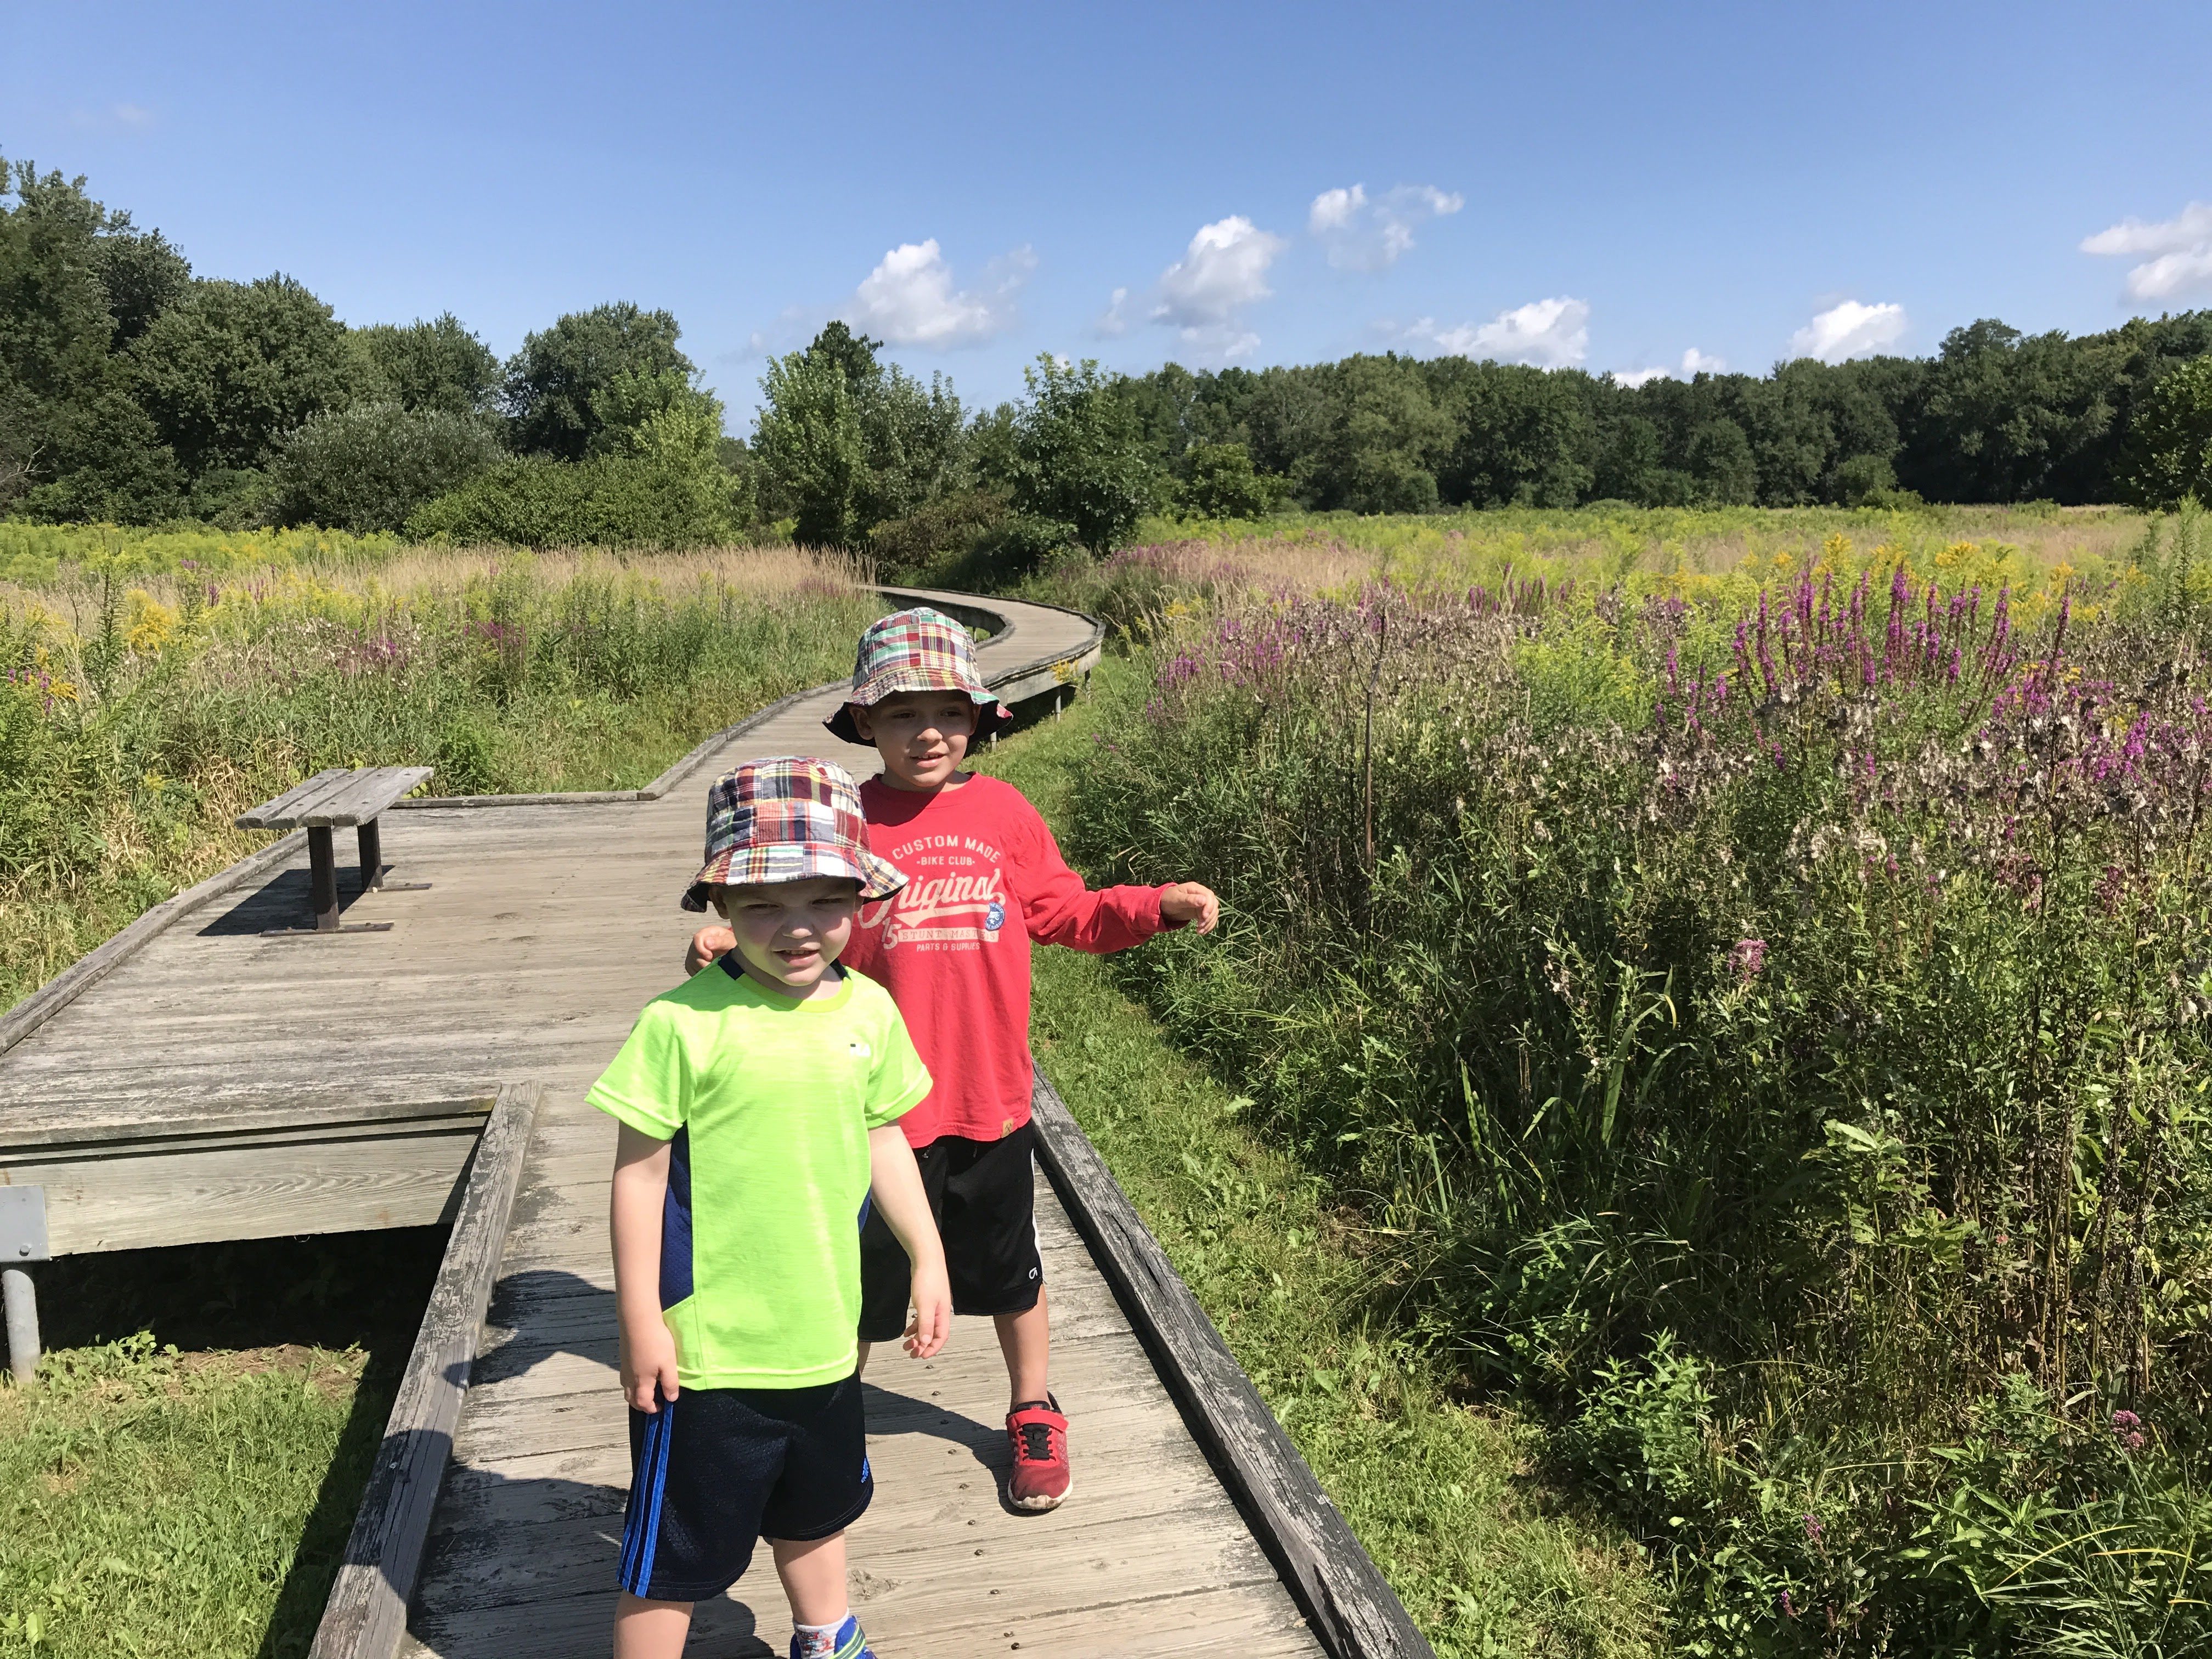
- Pochuck Boardwalk (1.8 miles, +25 feet)
- Caven Point (2 miles, nearly flat)
- Lenape Trail – Hilltop Reservation (2 miles, +250 feet)
- Flat Rock Brook (2 miles, +300 feet)
- Institute Woods & Swinging Bridge (2.5 miles, nearly flat)
- Liberty Loop Trail (2.5 miles, nearly flat)
- Lord Stirling Park (3.5 miles, nearly flat)
Our list of Kid-friendly New Jersey hikes is also a good place to start. For slightly more difficult trails, consider some of these hikes:
- Governor Mountain (2.1 miles, +430 feet)
- Van Slyke Castle Loop (2.6 miles, +700 feet)
- Silas Condict County Park Loop (3.5 miles, +800 feet)
Once you try a few hikes, you’ll quickly get a sense of your abilities and can decide whether to take it easy or try more difficult trails, including our recommended Best Hikes in New Jersey.
6. Go with a friend
Solo hiking can be a lot of fun, but if you’re getting started, I highly recommend going with a friend or a group who has done it before. You’ll enjoy the companionship and hopefully be less nervous by being with someone with some hiking experience.
If you don’t have any friends that like to hike, there are groups on Facebook and Meetup that do organized hikes. Just make sure you find one at your ability level – there are more advanced hiking groups that won’t wait for stragglers.
And if you do decide to hike alone, let someone know where you’re hiking and when you expect to be back.
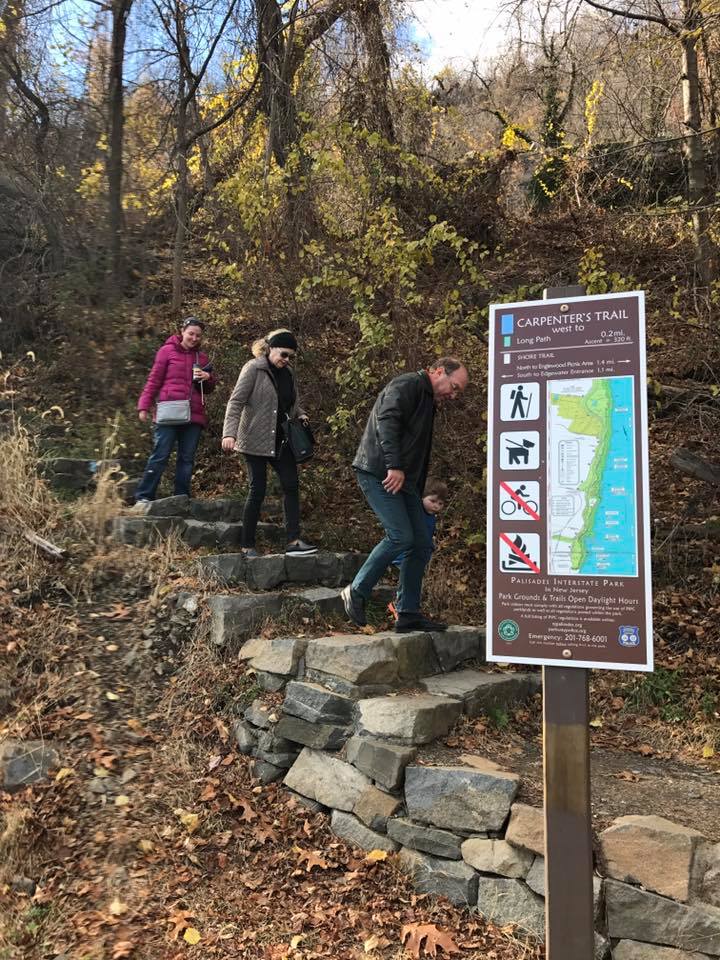
7. Carry a map & know how to read trail markings
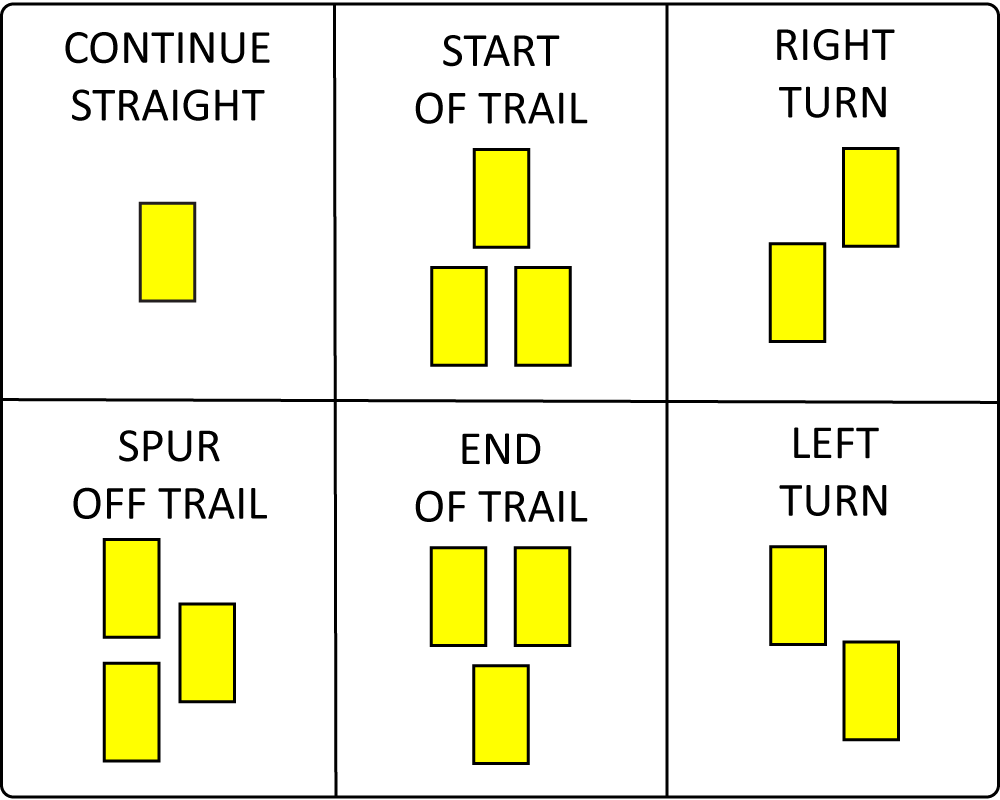
Most trails are marked with colored blazes – painted or nailed on markings on trees, rocks, or other objects to indicate which way the trail goes (That’s where “trailblaze” comes from).
The three most common blaze types you’ll see are a single blaze – which just indicates the location of the trail and tells you to continue straight – and two offset blazes – which indicate that the trail is turning left or right. It’s important to follow the blazes and not just what might appear to be the most obvious path on the ground.
Besides blazes, you won’t usually find many signs directing you where to go, so it can be easy to get disoriented.
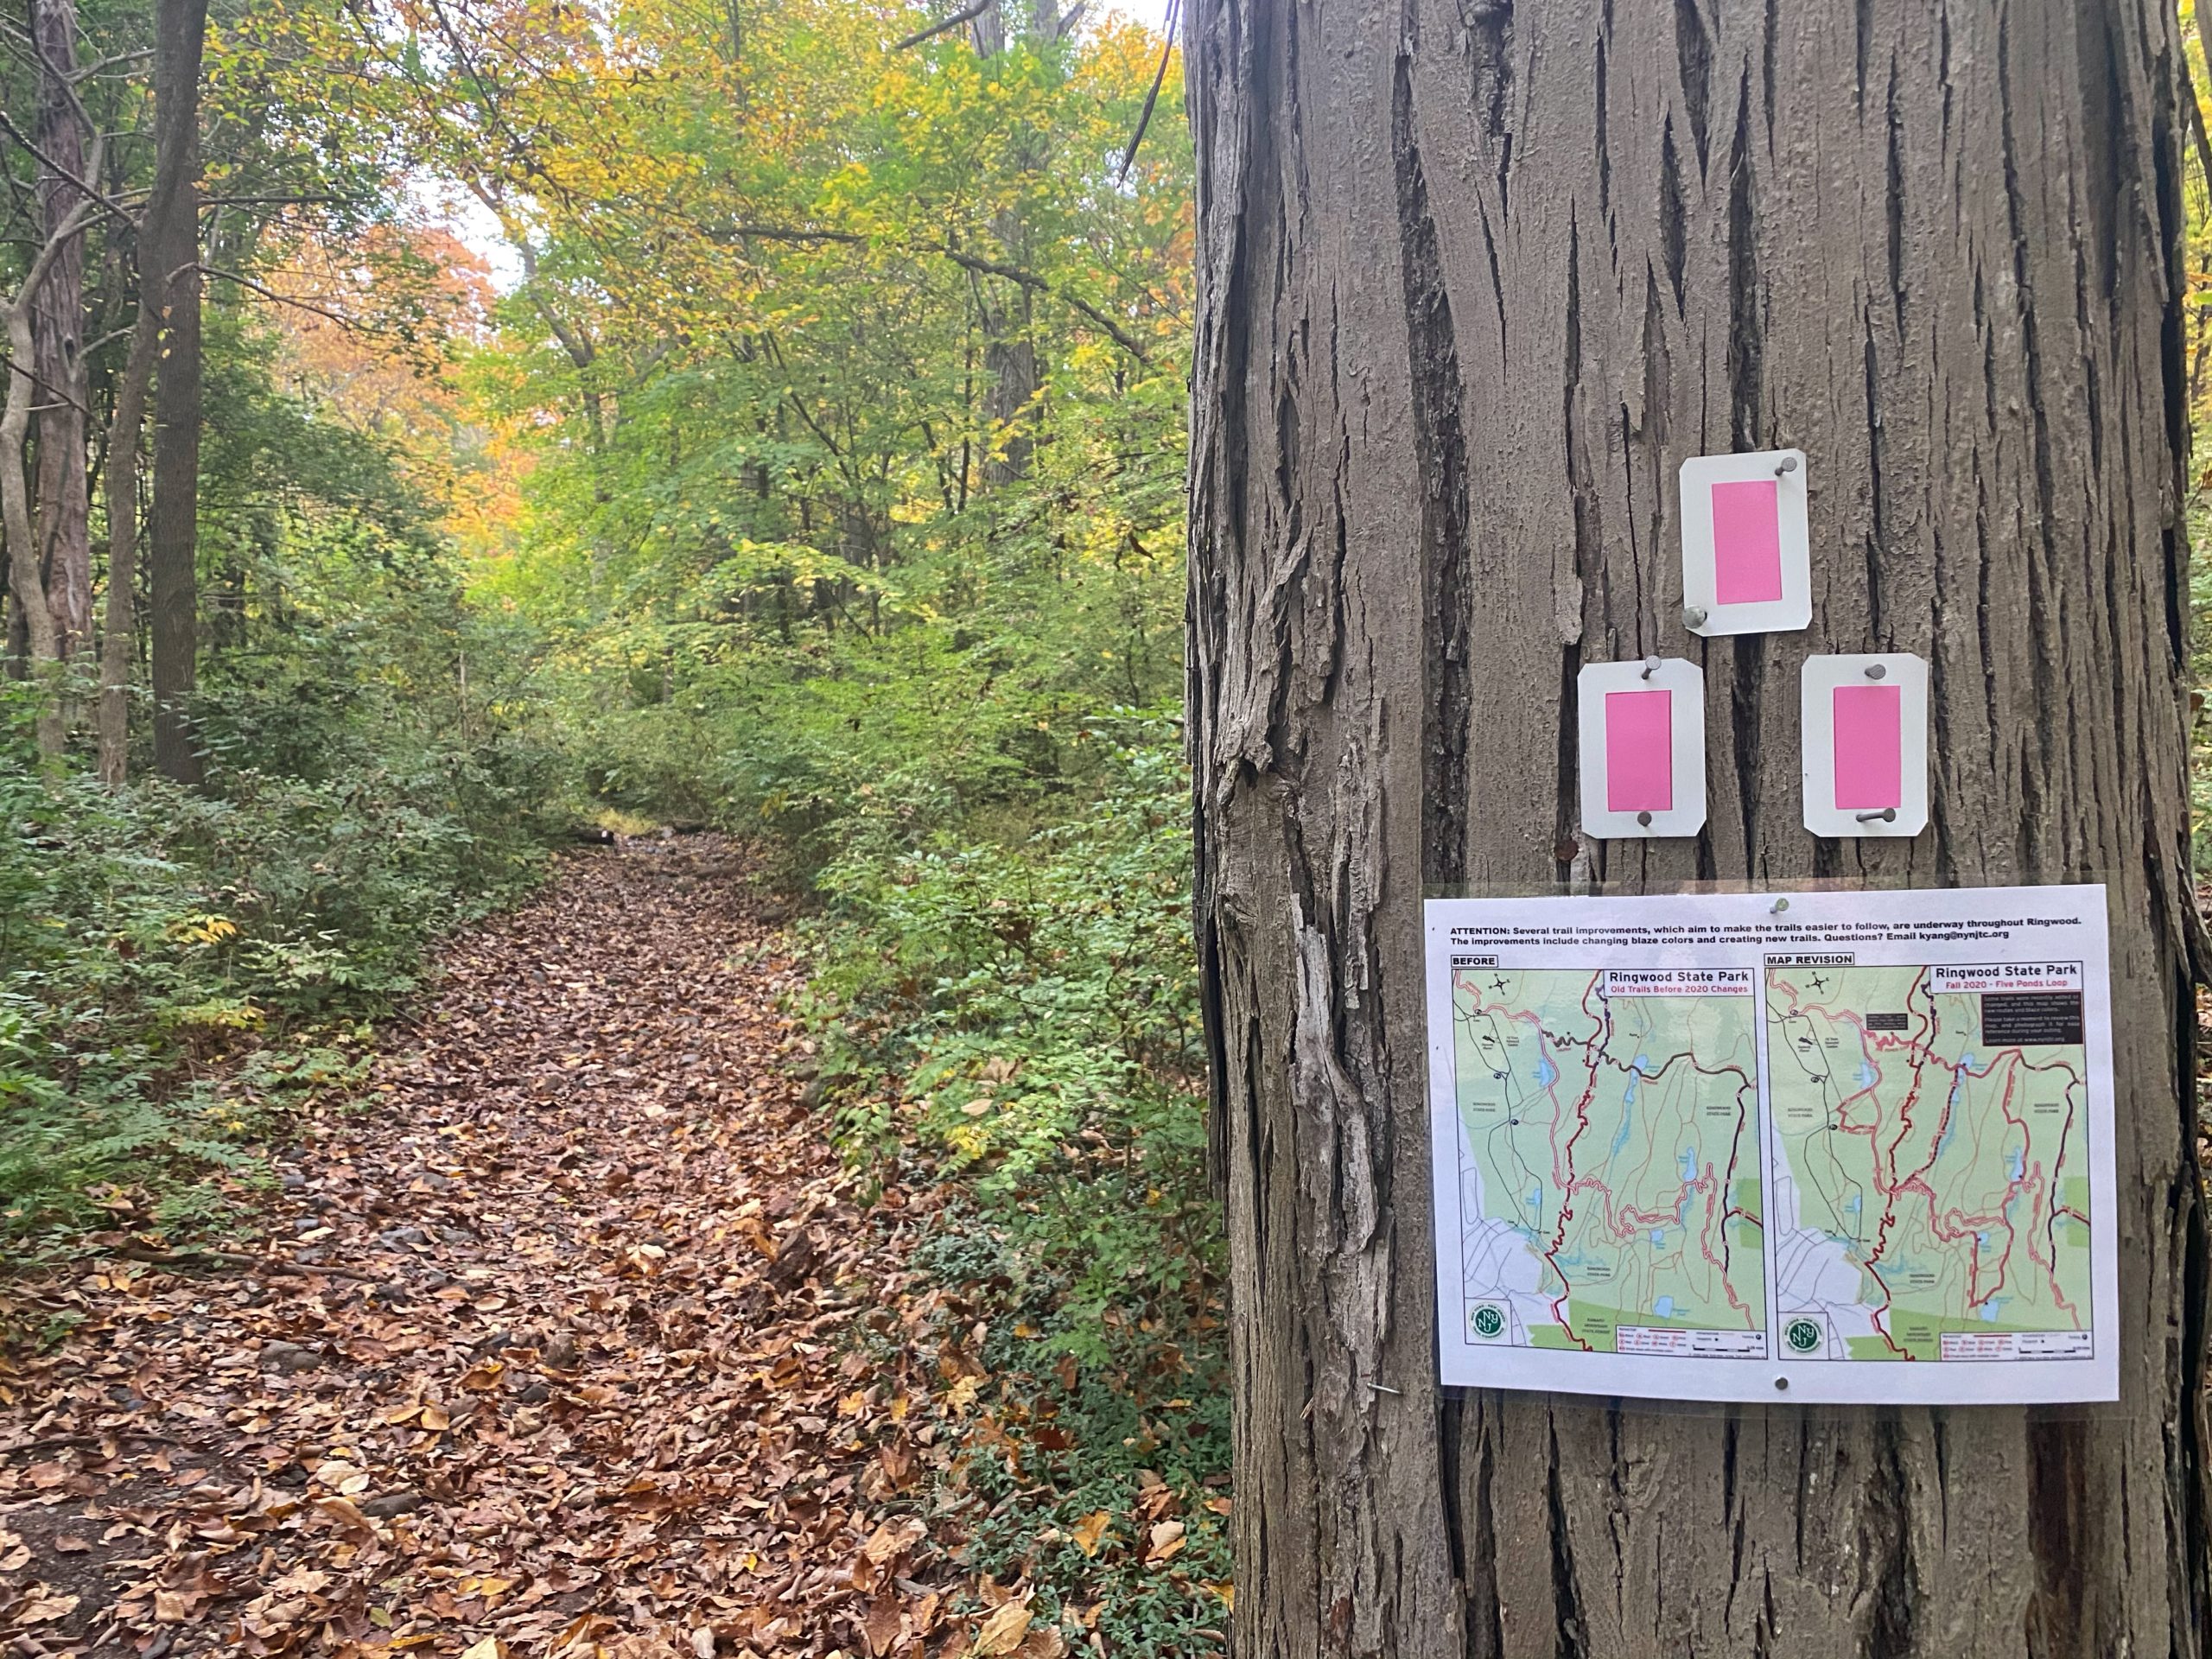
That’s why it’s a good idea to carry a map with you – yes, a paper map (even if you have a digital one, since your phone might die). Many parks have free pdf maps that you can print out on their website.
When hiking, put your phone in airplane/low power mode to save battery life. The use of GPS or your phone trying to connect to a weak cell signal can quickly drain the power.
In terms of digital maps, there are some great apps that you can load on your phone which will use your phone’s GPS to show you where you are on the map. These apps work even if you’re not within range of cell towers, as long as you downloaded the map in advance. Some apps to consider include GaiaGPS, AllTrails, and Avenza.

Pro tip: If you’re hiking in New Jersey/New York, I highly recommend using trail maps from the NY-NJ Trail Conference. They provide a large number of free maps for many of the most popular trails that can be downloaded as a pdf and which are also available via the Avenza app. The great thing about Avenza is it will show a dot with your location directly on the map. The Trail Conference also sells waterproof print map sets and digital maps for Avenza.
Finally, many trailheads have a kiosk or signage with a map of the park. If you don’t have the map already, take a picture with your phone and refer to it later.
8. Be smart – but don’t worry – about wildlife
A common fear among new hikers is encountering bears, snakes or other wild animals. In reality, the more significant threats from wildlife that you should prepare for come from diseases carried by ticks and mosquitos.
Ticks: Even when it’s hot, I prefer to dress with long pants and sleeves and a hat. Always check your skin for ticks after a hike. The American Hiking Society has some more tips to protect you from ticks, like treating clothing with permethrin.
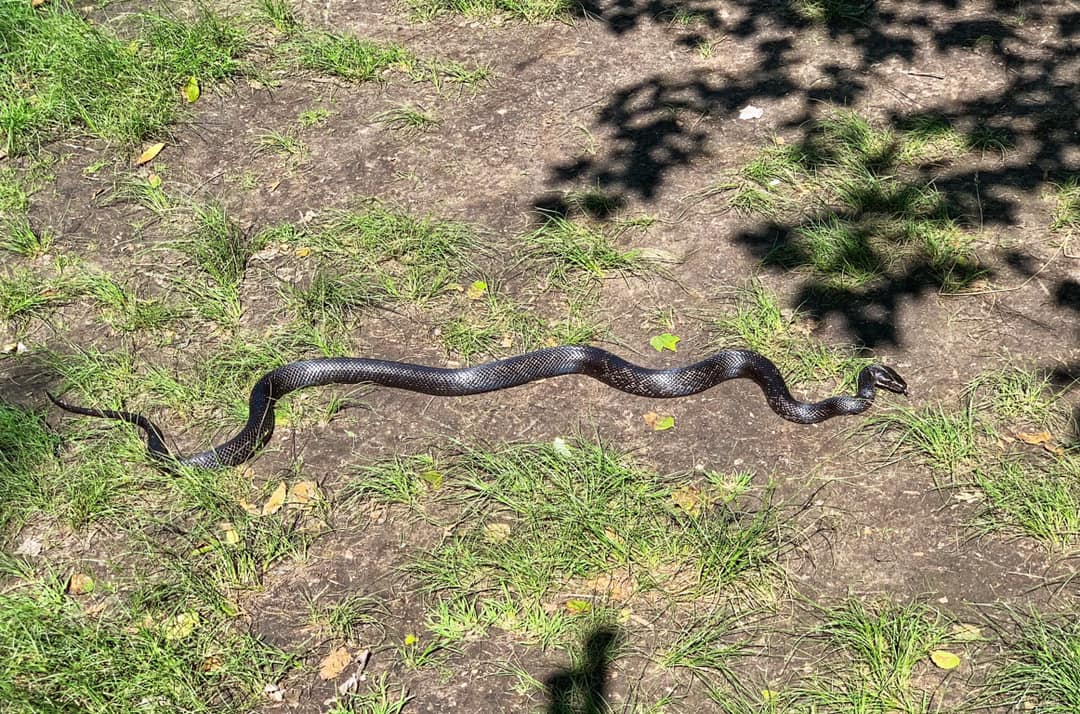
Snakes. Out of New Jersey’s 22 species of snakes, only 2 are venomous: the timber rattlesnake and the northern copperhead. They are not common, so consider yourself lucky if you get to spot one. All snakes can bite, but the chance of being bitten by a venomous snake in New Jersey is very low.
Snakes will defend themselves if they feel threatened. Venomous snakes can give a “dry bite” without injecting venom if the strike is in defense rather than for acquiring food.
If you are bitten by a venomous snake:
- Stay as calm as possible
- Call 911 immediately
- Wash the bite with soap and water.
- Immobilize the bitten area and keep it lower than your heart.
- Do not attempt to draw venom from a wound.
- Do not cut the wound or apply ice to the bite.
- Do not apply a tight bandage. If medical assistance will take longer than 30 minutes to reach you, wrap a bandage 2-4 inches above the wound to attempt to slow the venom transfer through the bloodstream. Be careful not to tie the bandage too tightly, constricting blood flow. You should be able to slip a finger beneath the tied bandage.
Bears. Bear attacks are extremely rare. The east coast only has black bears, which are smaller and much less aggressive than grizzly bears. Bears want to avoid you, and most likely, they will scurry away before you even know they’re there. If you do see one, consider yourself lucky. I’ve hiked thousands of miles in multiple states and have yet to see a bear (sad!).
If you do encounter a bear:
- Remain calm. Do not run from it. (You could trigger its chase response – and they can easily outrun you)
- Make the bear aware of your presence by speaking in an assertive voice, singing, clapping your hands, or making other noises.
- Make sure the bear has an escape route.
- Avoid direct eye contact, which may be perceived by a bear as a challenge. Never run from a bear. Instead, slowly back away.
- To scare the bear away, make loud noises by yelling, banging pots and pans or using an airhorn. Make yourself look as big as possible by waving your arms. If you are with someone else, stand close together with your arms raised above your head.
- The bear may utter a series of huffs, make popping jaw sounds by snapping its jaws and swat the ground. These are warning signs that you are too close. Slowly back away, avoid direct eye contact and do not run.
- If a bear stands on its hind legs or moves closer, it may be trying to get a better view or detect scents in the air. It is usually not a threatening behavior.
- Black bears will sometimes “bluff charge” when cornered, threatened or attempting to steal food. Stand your ground, avoid direct eye contact, then slowly back away and do not run.
- If the bear does not leave, move to a secure area.
- Black bear attacks are extremely rare. If a black bear does attack, do not play dead – fight back!