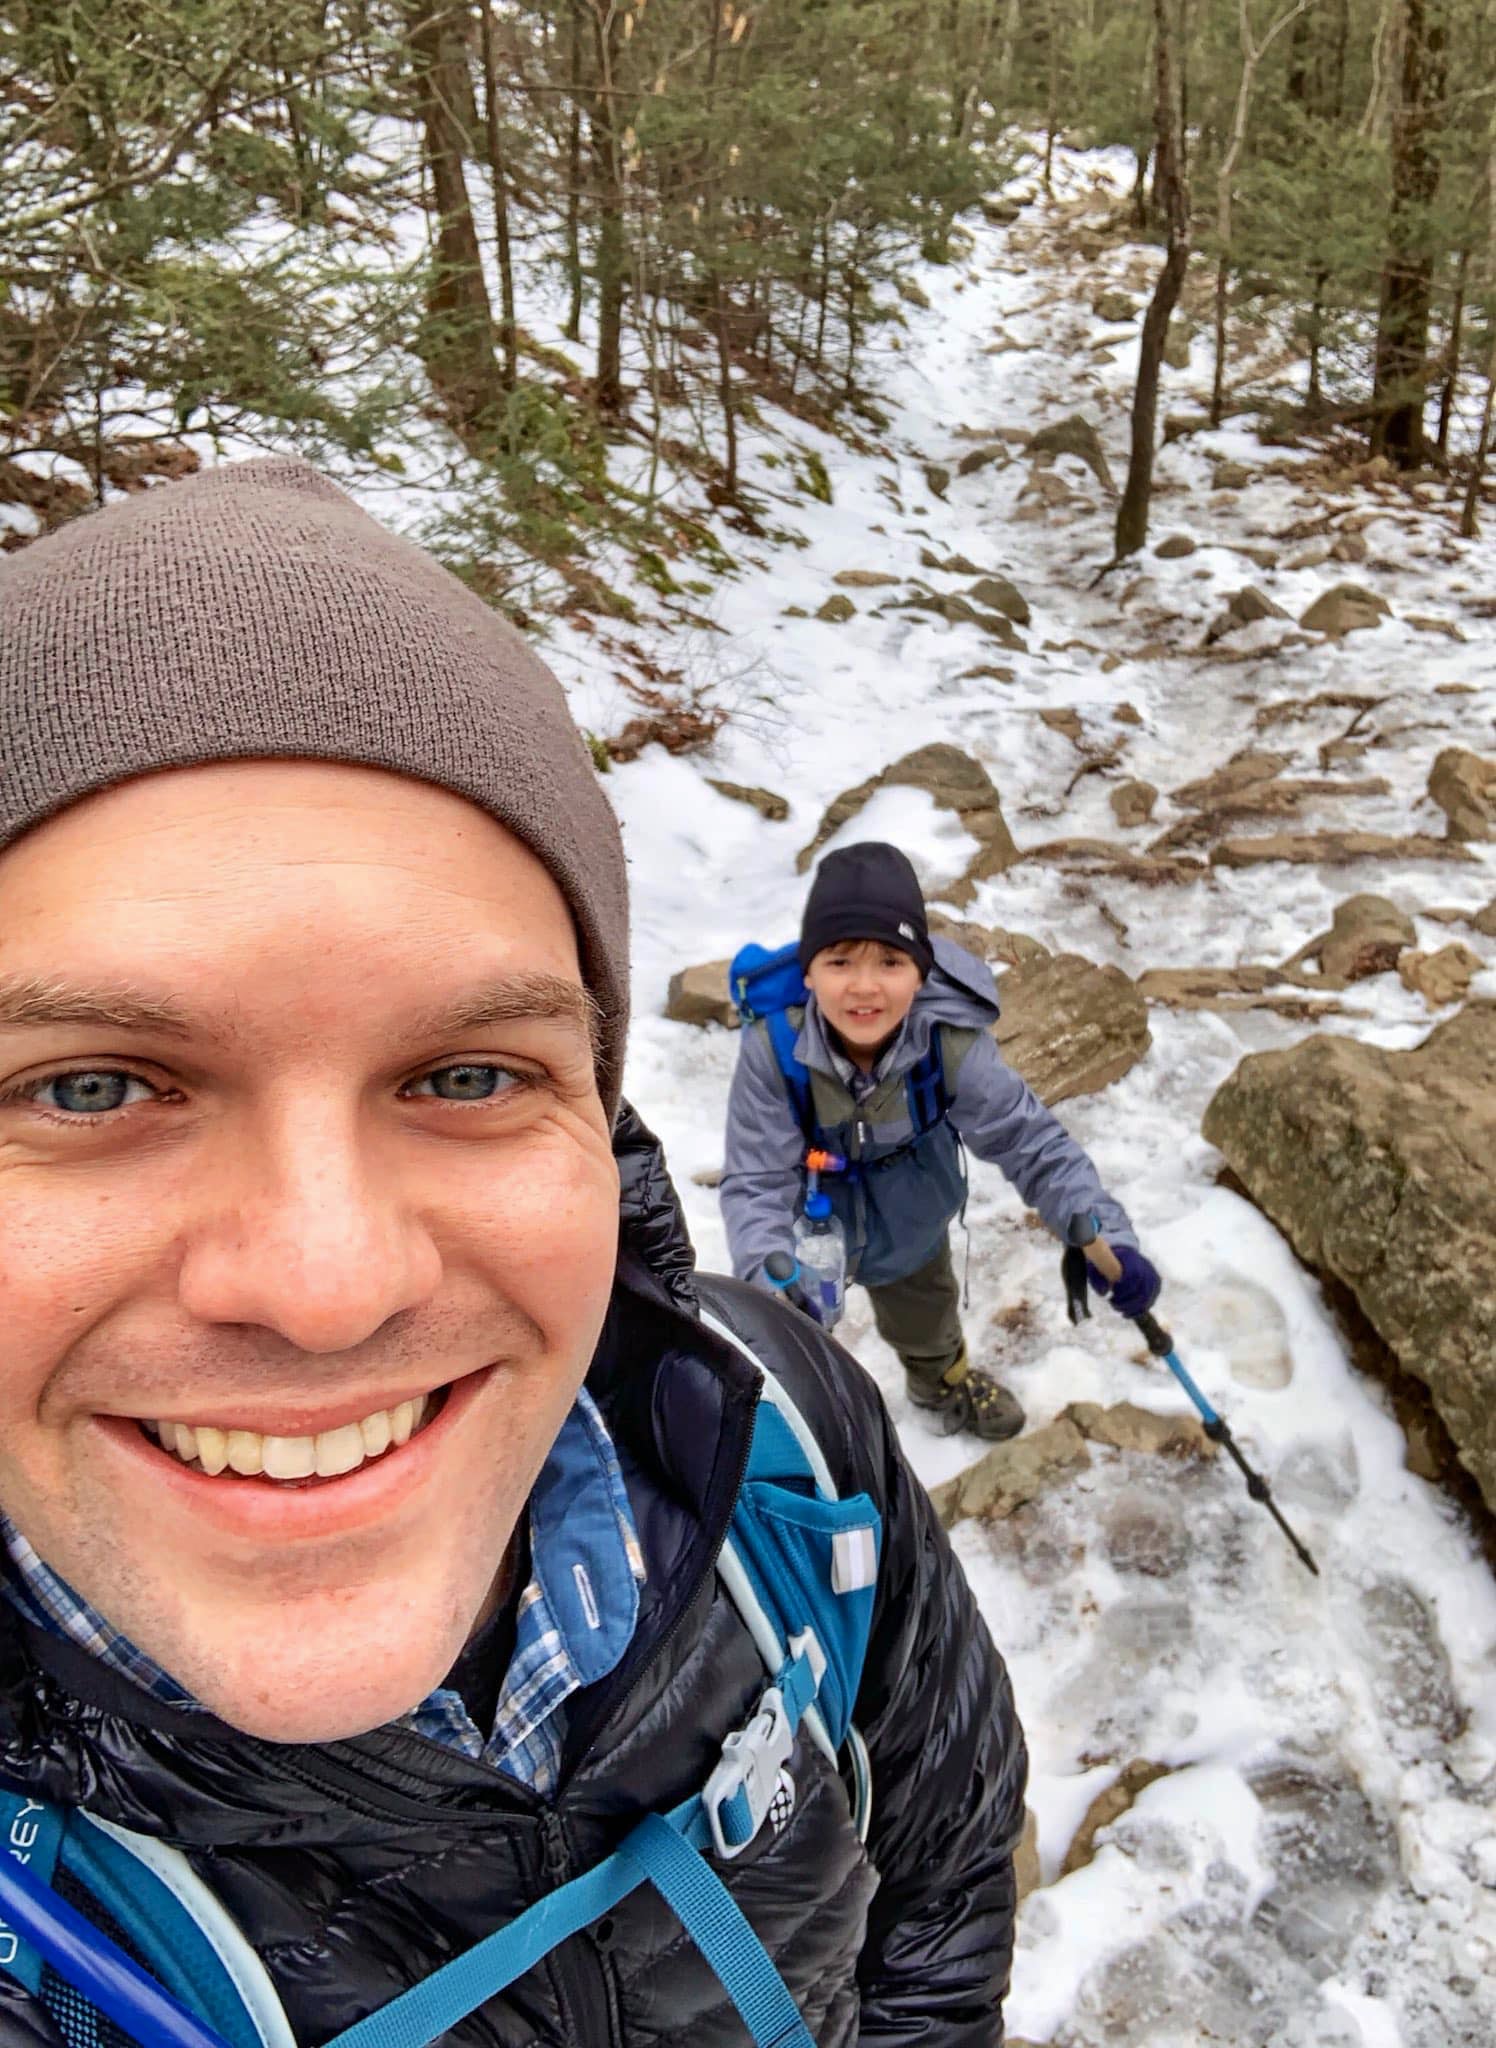
Are you hesitant to hike in the winter because of the weather?
“There’s no such thing as bad weather, only unsuitable clothing.” ― Alfred Wainwright
This quote is nonsense and there definitely is such a thing as bad weather, but the sentiment is a good one.
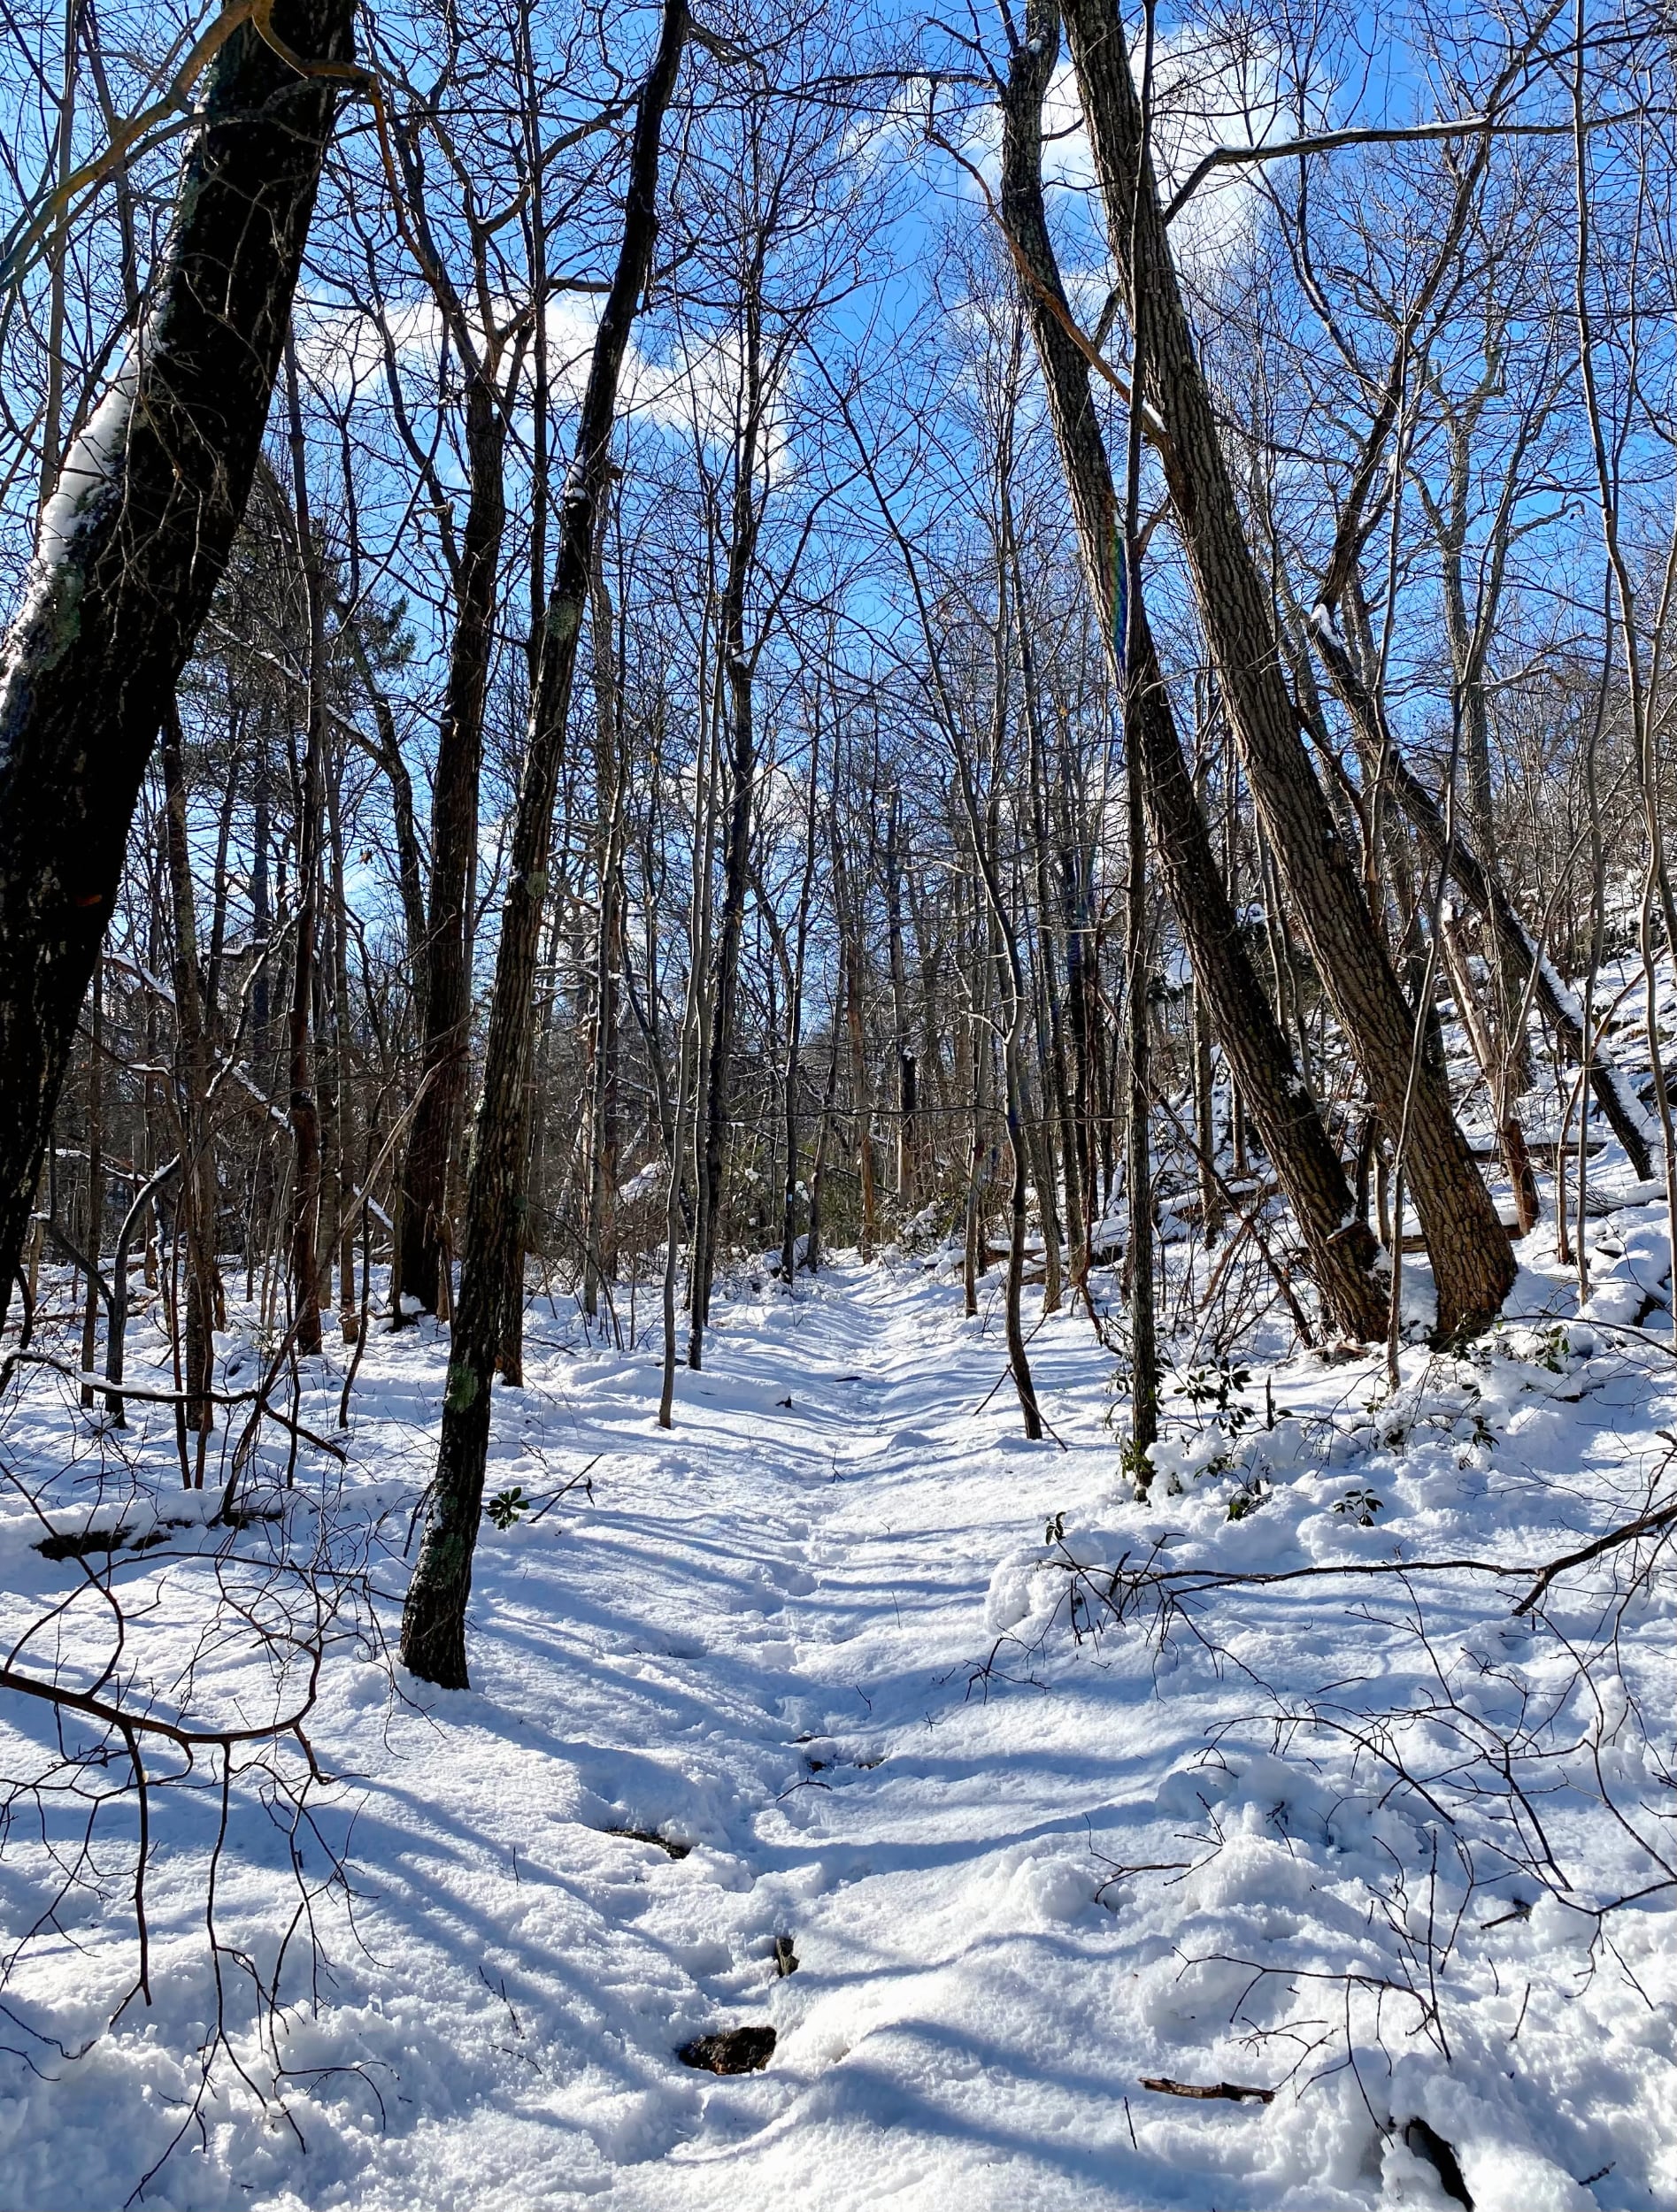
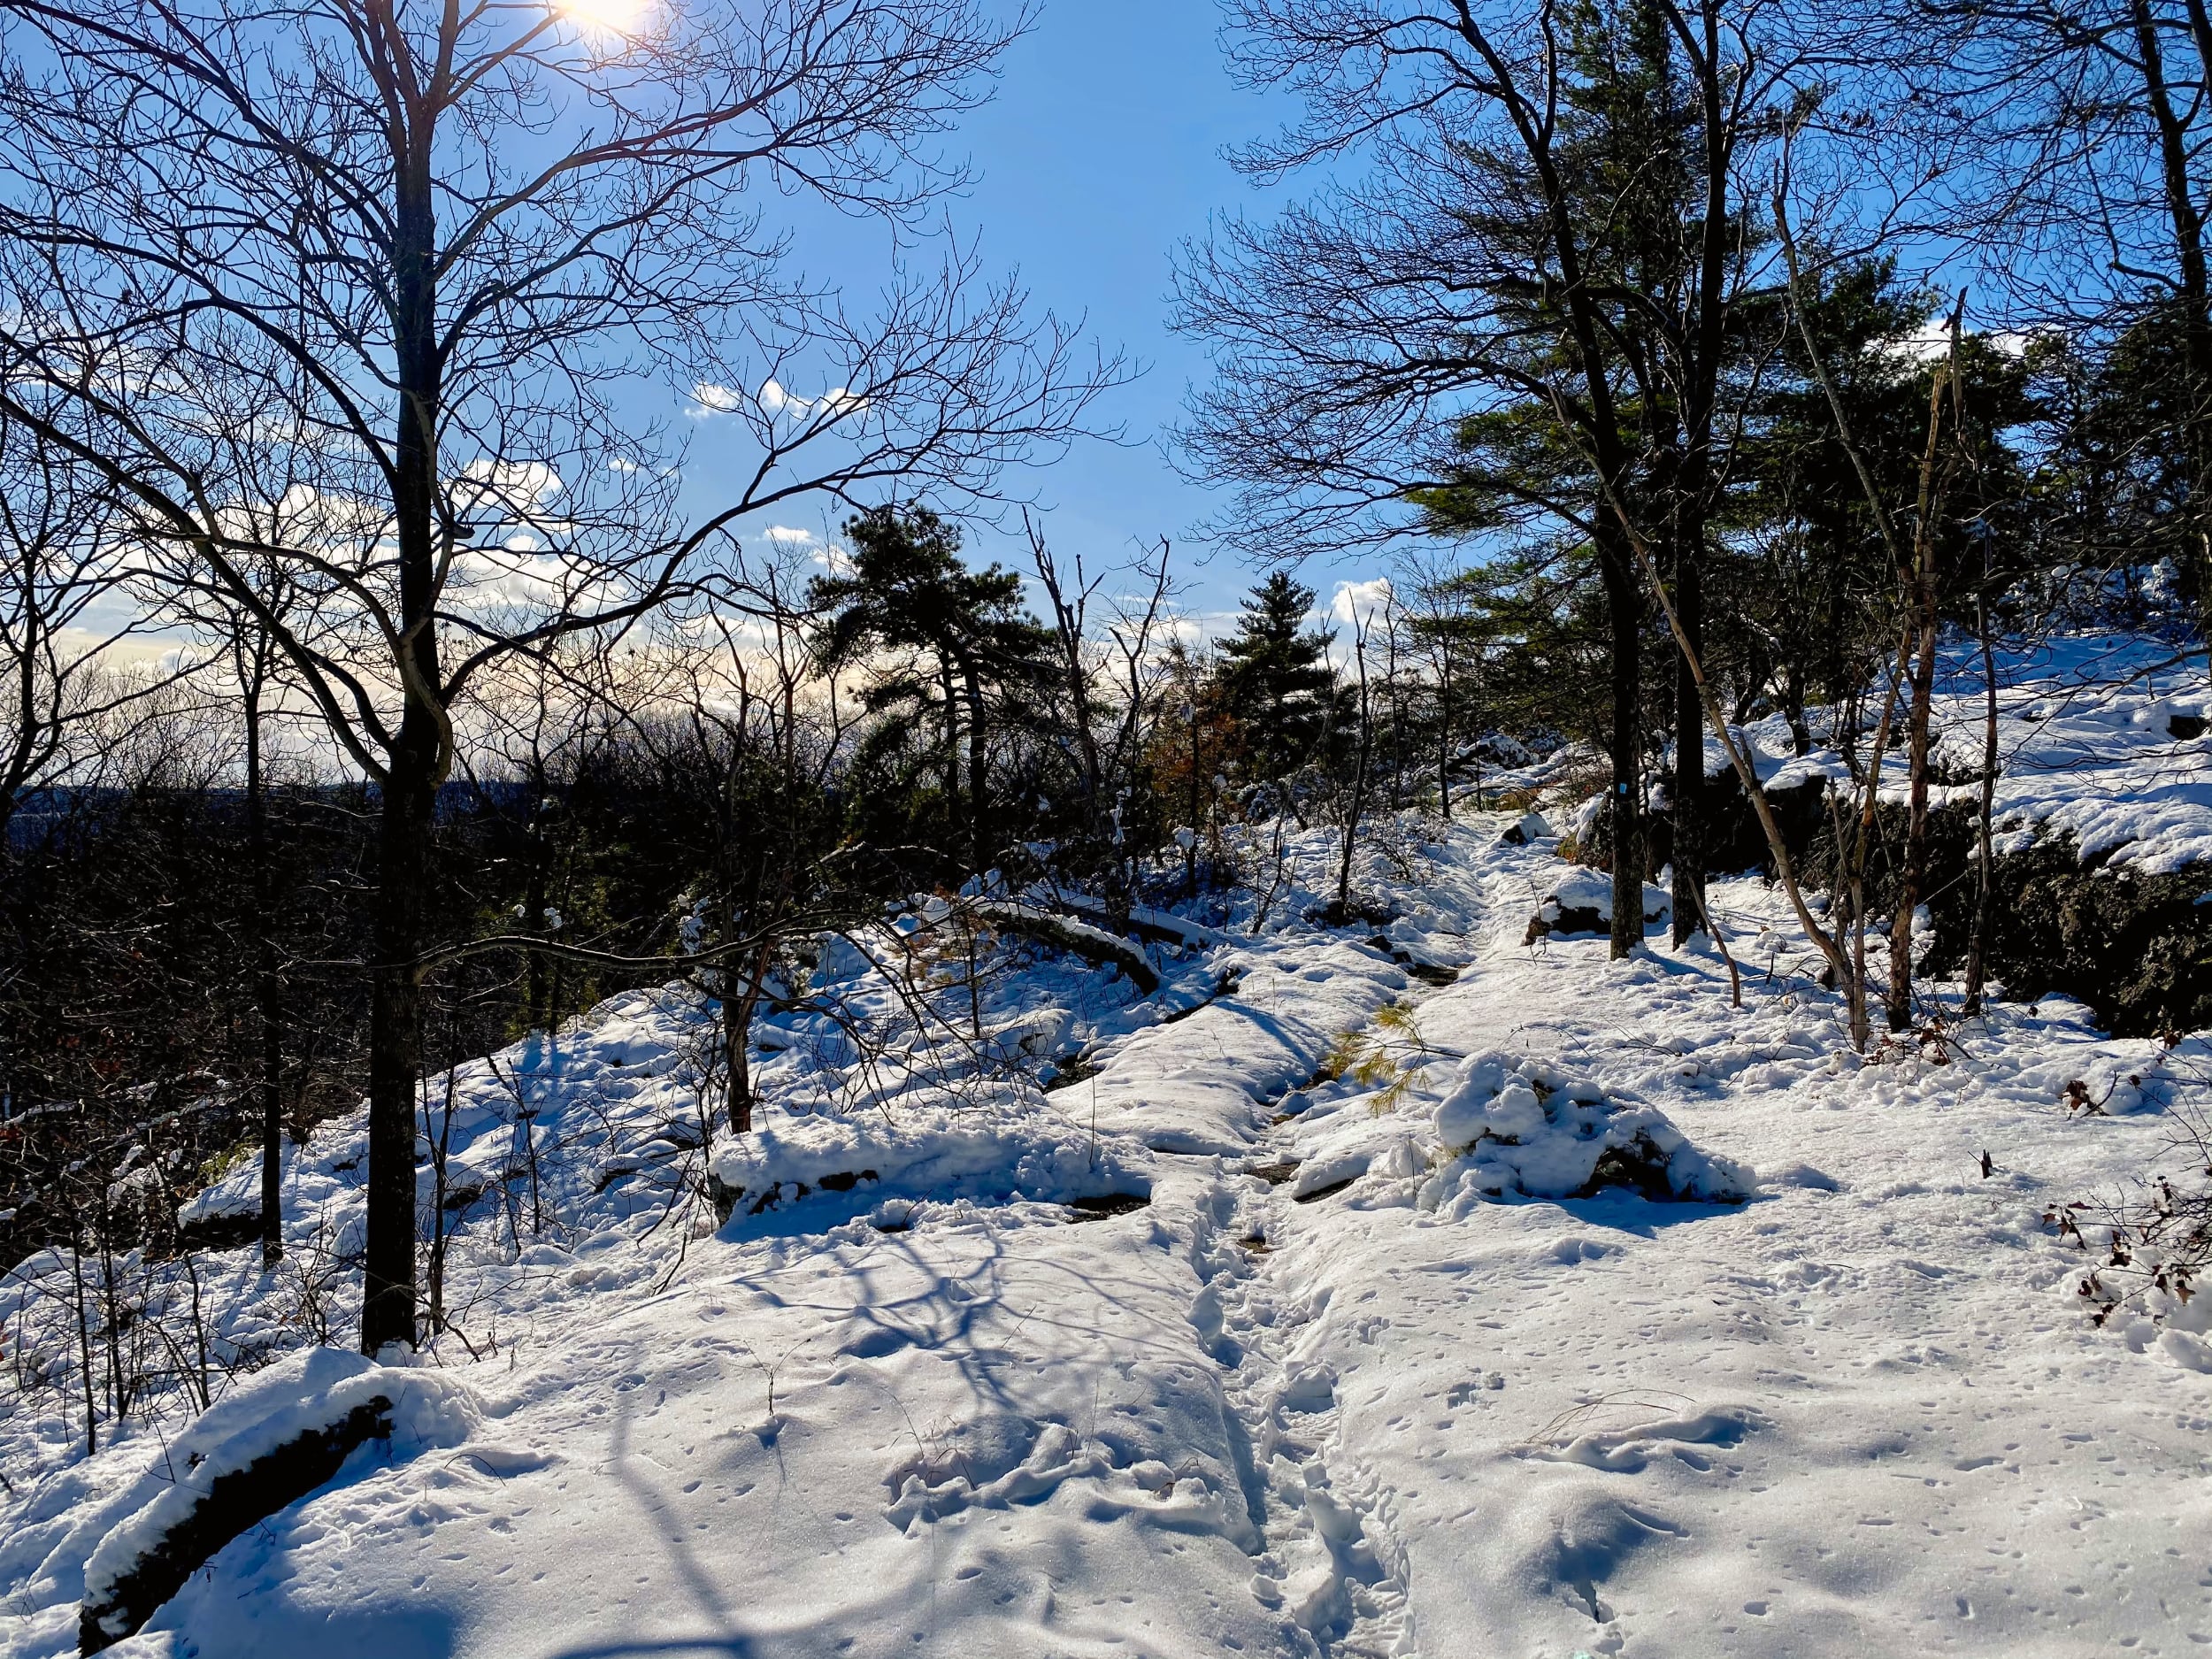
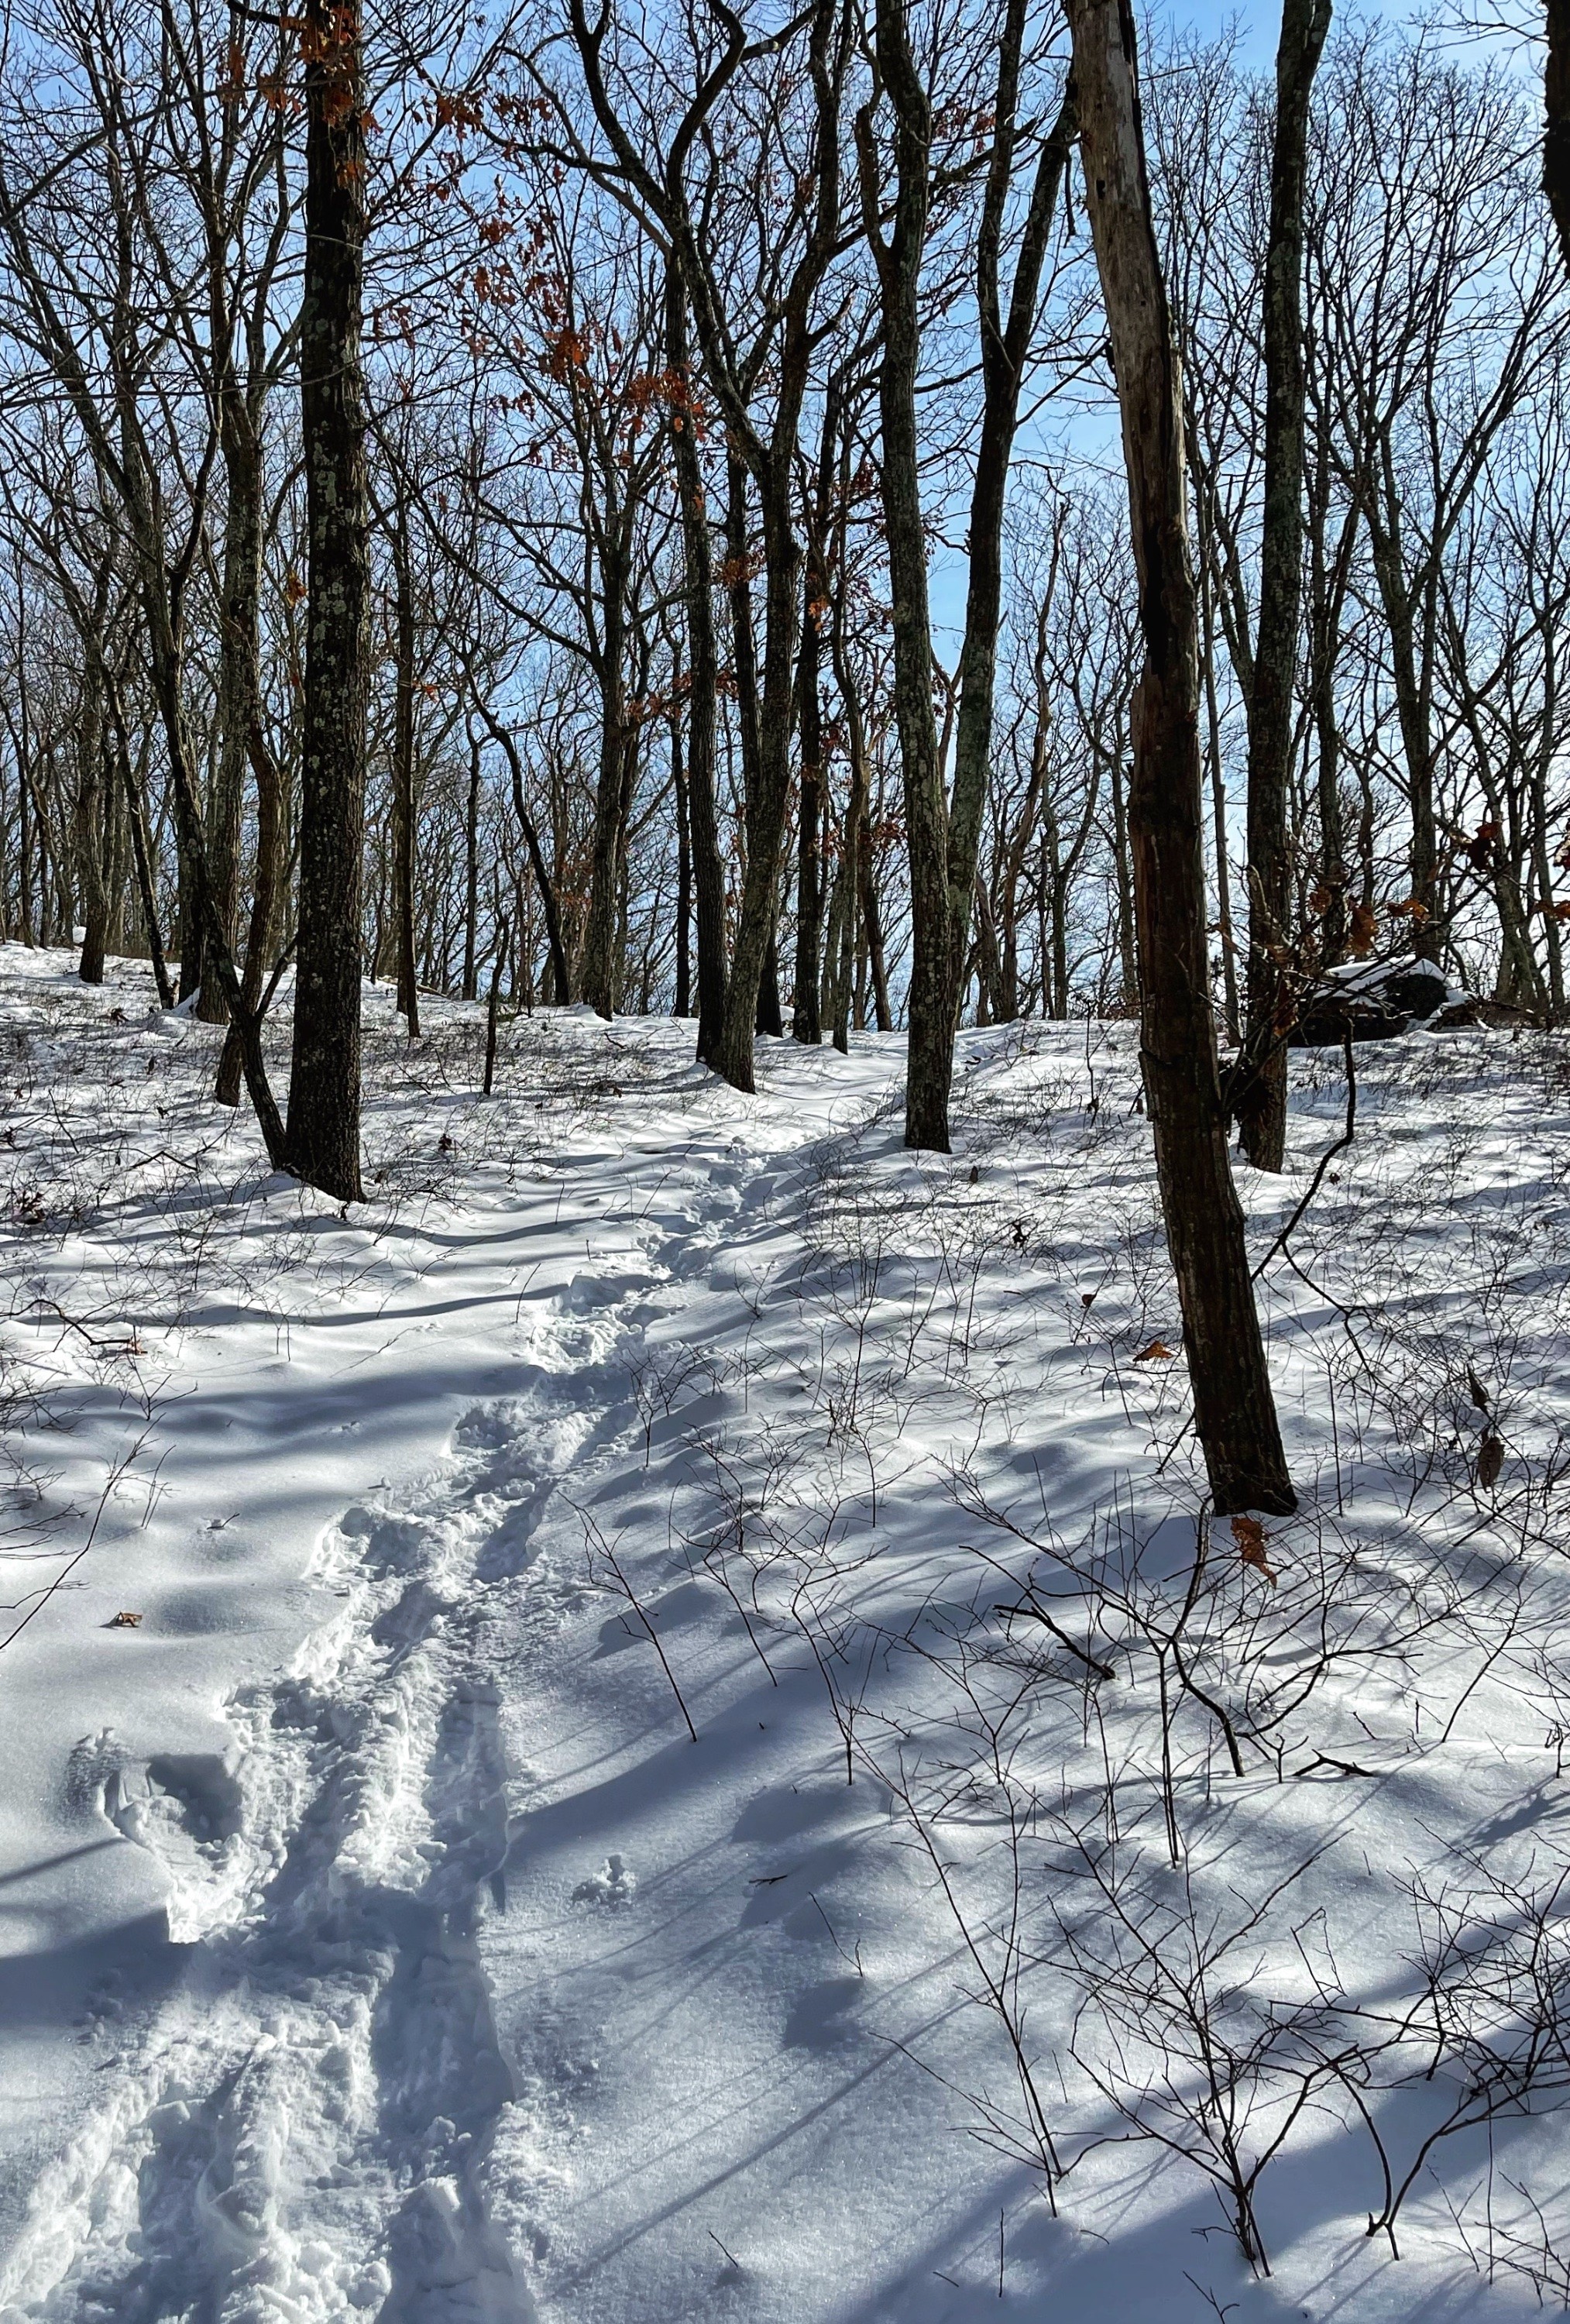
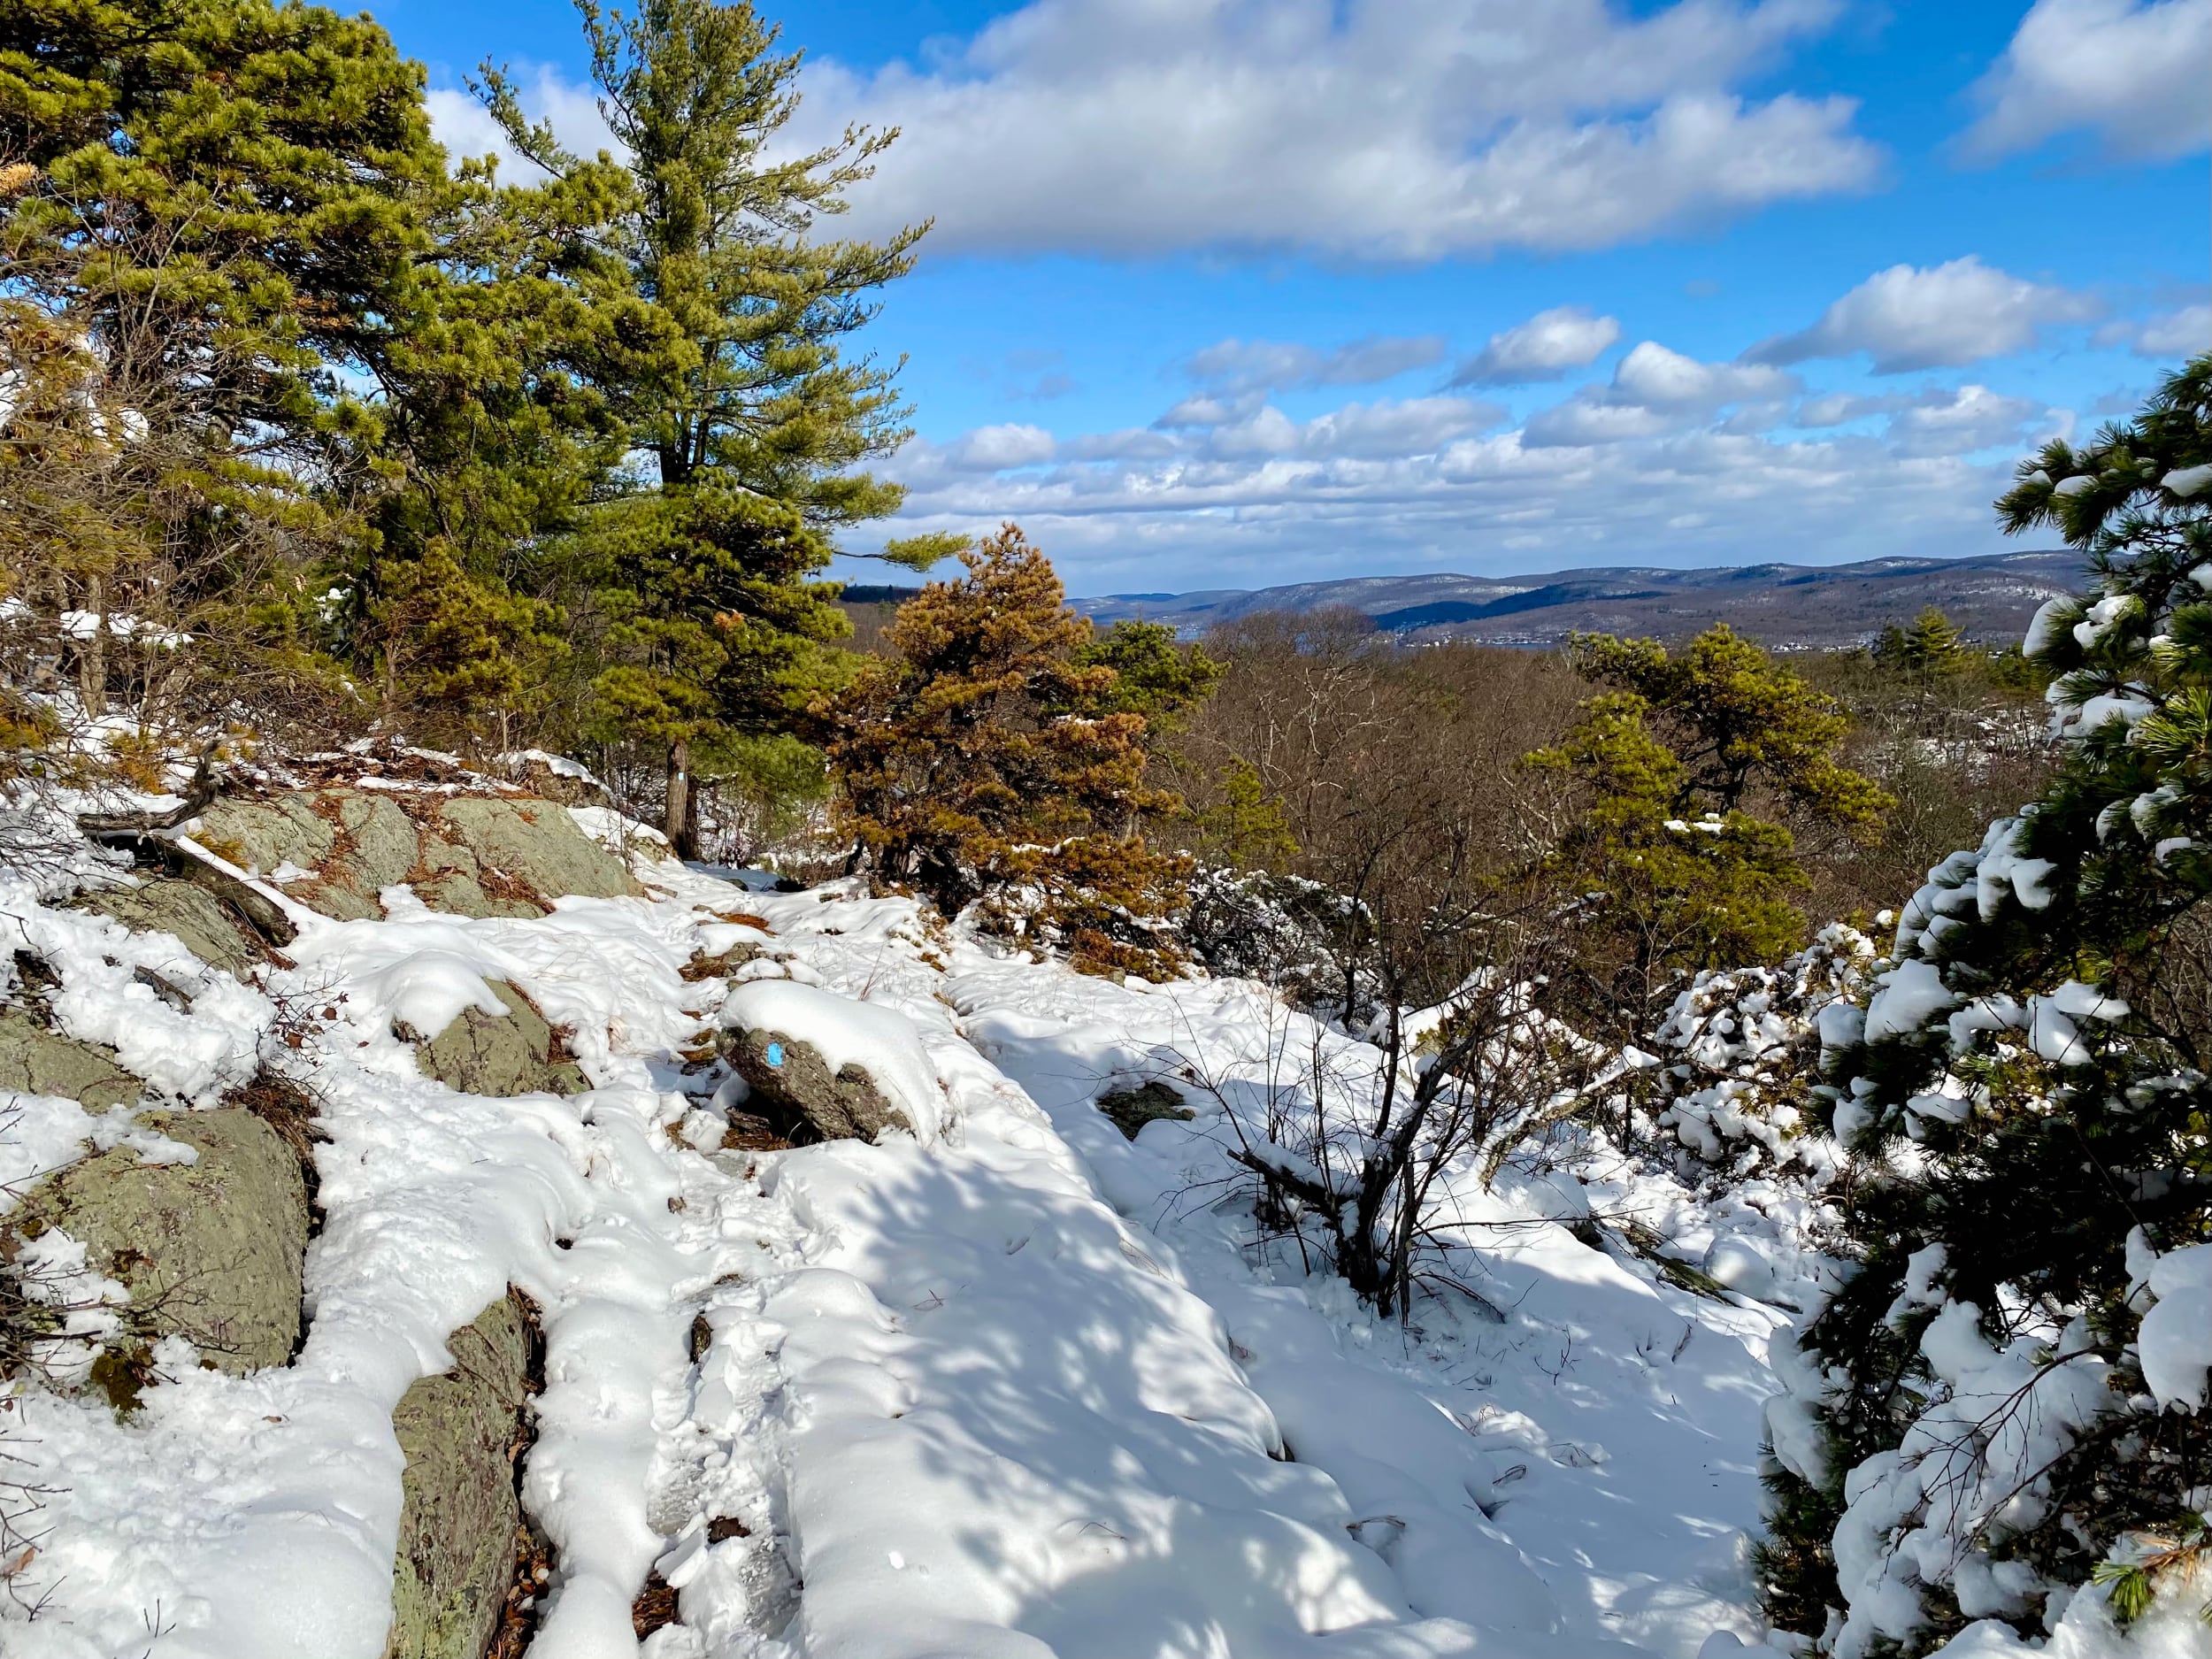
When the weather turns, it doesn’t mean hiking season is over; it just requires a bit more preparation. In fact, hiking in the winter can be a peaceful, invigorating experience, free of the summer crowds.
If you’re here, you’re probably wondering “How should I dress for winter hiking?” and “What gear should I pack?”
We’ve got 5 tips to help extend your hiking season into a year-round adventure.
Tip 1: For clothing, think layers & zippers
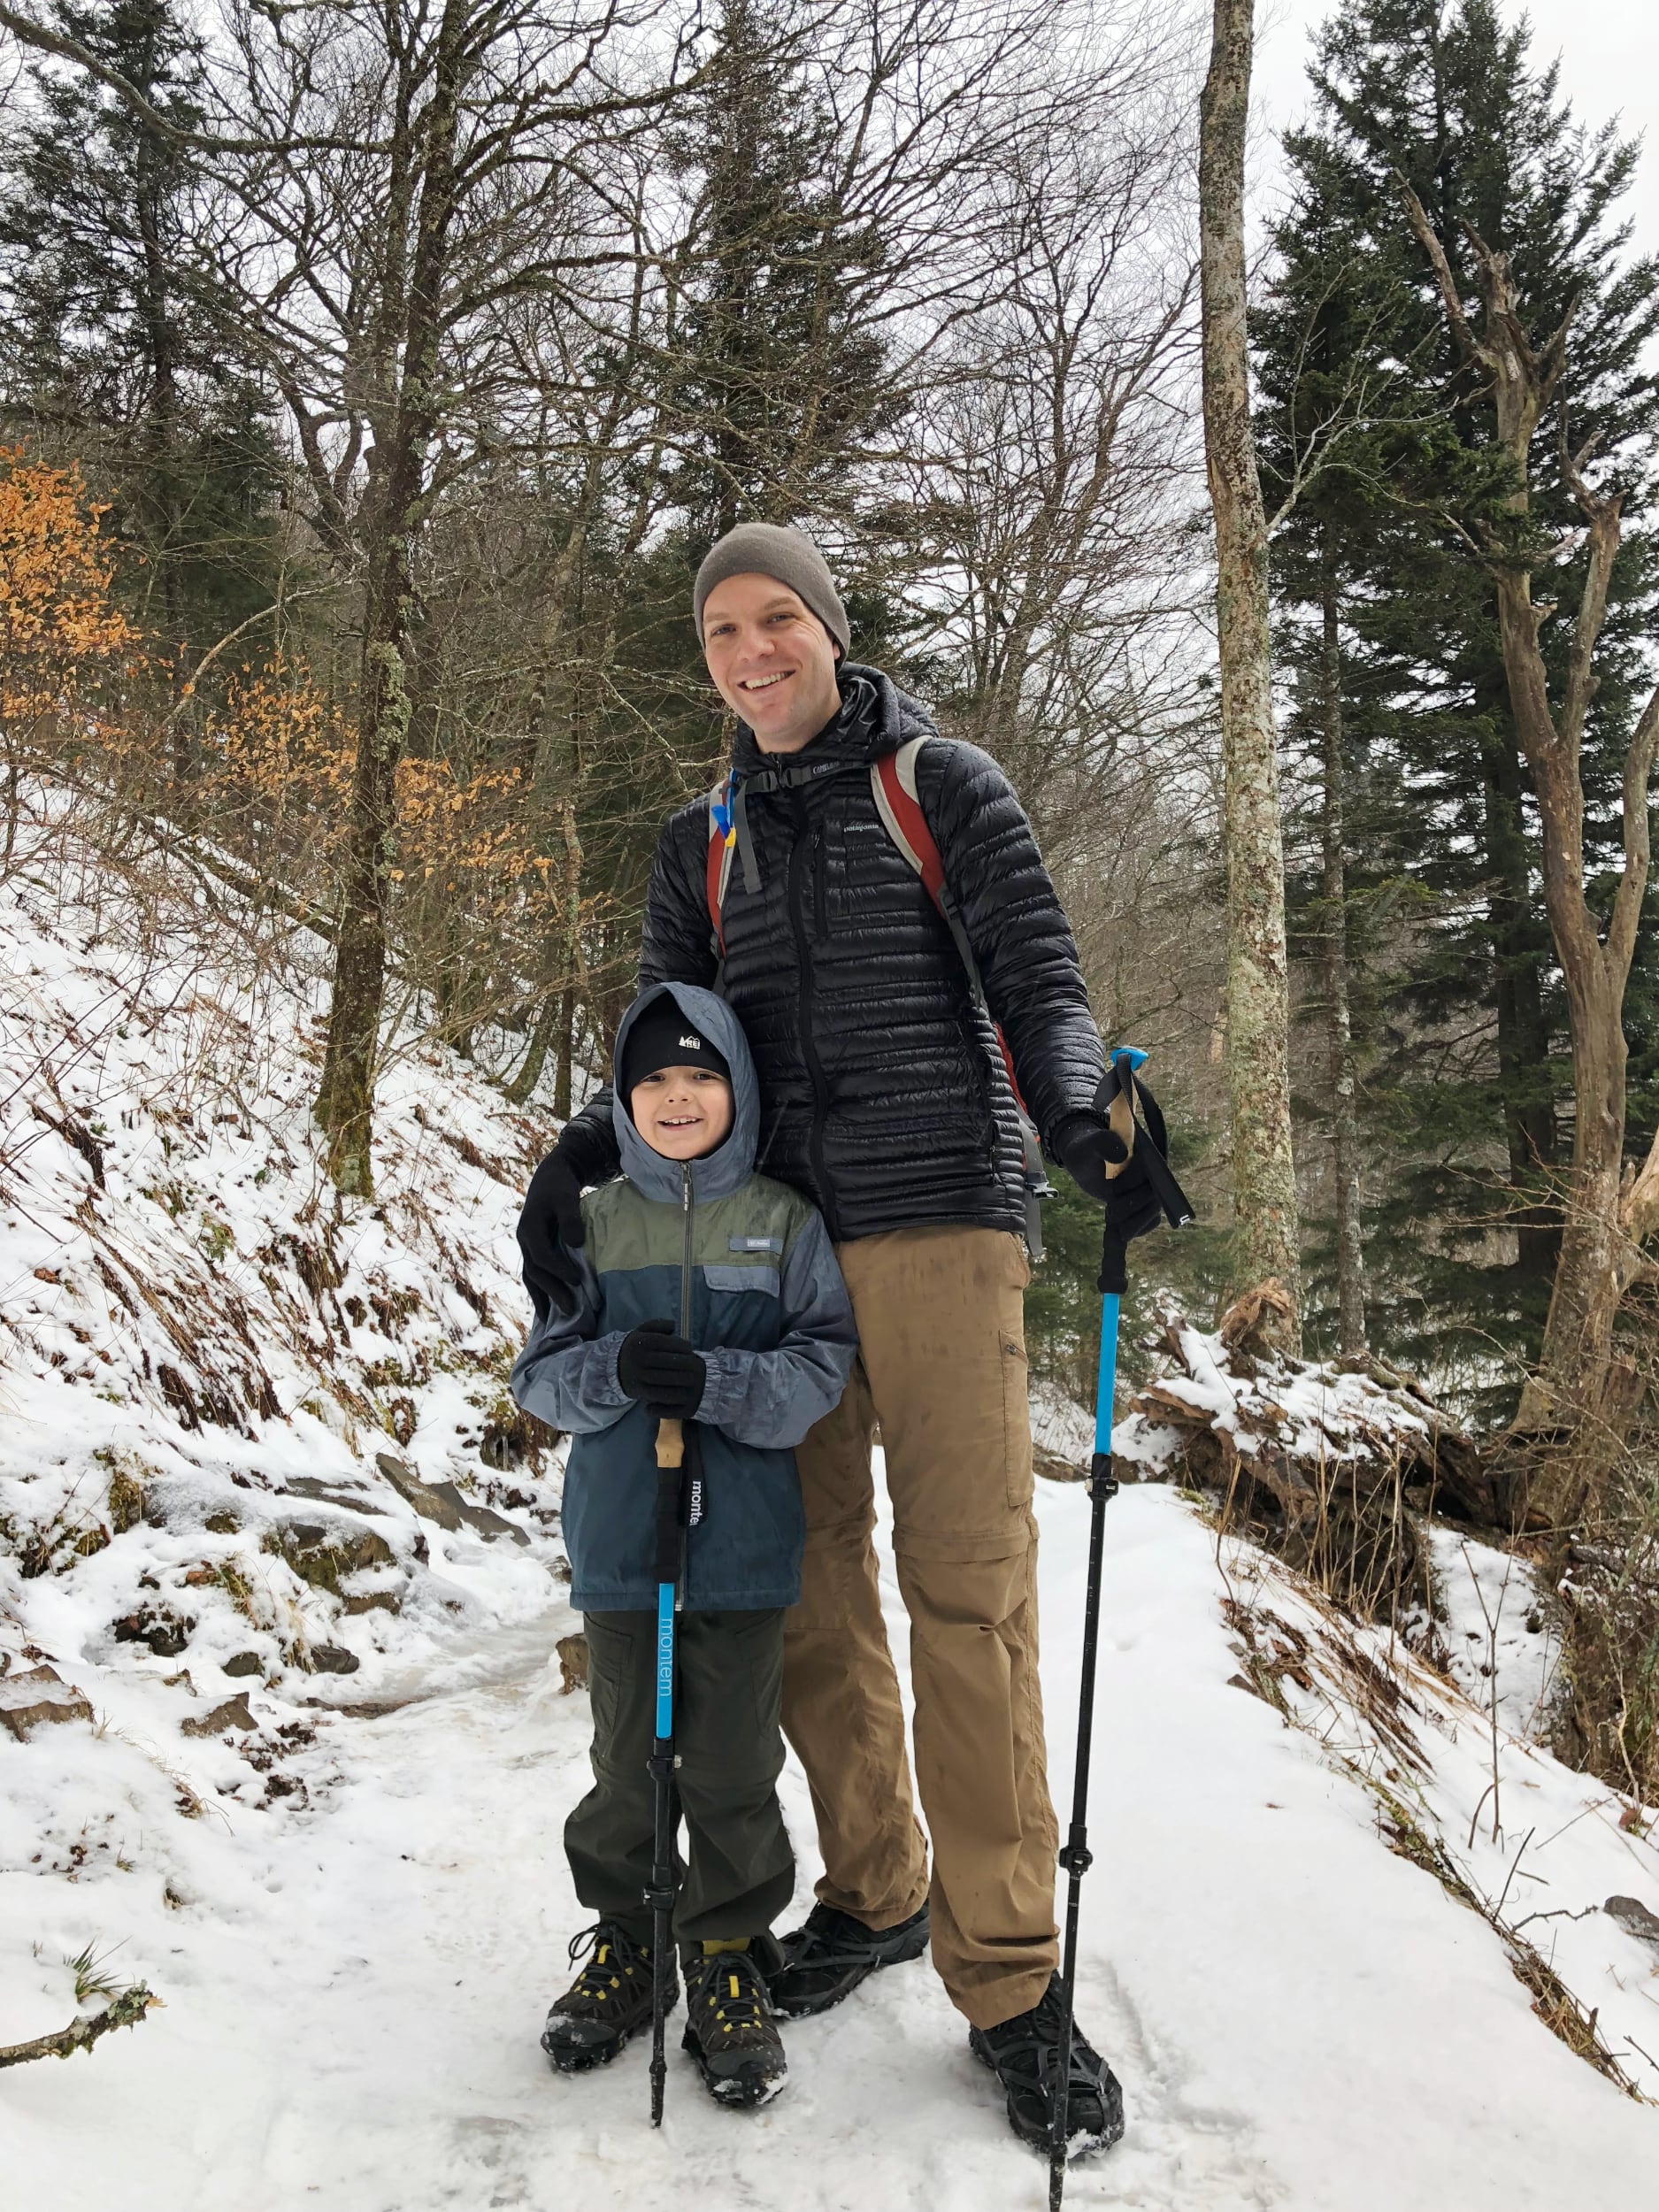
The key to hiking in the cold is staying warm and dry. It is important to regulate your temperature to avoid sweating because when you stop moving and the sweat cools, it will drop your core temperature. Part of regulating your temperature comes from being mindful about how much you exert yourself. The other part is how you dress. The best approach is to dress in layers – so you can remove and add them as needed.
Upper body
A good layering system for your upper body includes:
- A base layer to wick moisture away from your skin. Synthetics or wool work great. Do not use cotton (“cotton kills”), which absorbs moisture and will make you cold.
- An insulating mid layer. Fleece or a insulated vest or jacket are good options. If rain or other wet precipitation is in the forecast, consider synthetic insulation, which performs better when it’s wet.
- A shell to repel moisture, like a rain jacket.

Depending on conditions, you can remove or add layers to keep you warm and dry. I like base, mid, and shell layers with partial or full zippers in the front and/or pit zips which give you more control to regulate your temperature without necessarily removing the layer.
Legs
For your legs, it depends on conditions. If it’s very cold, long johns, leggings, or other base layers coupled with waterproof pants like rain pants or ski pants work. If it’s not too cold and there isn’t deep snow that could get your legs wet, you might get away with your regular hiking pants.
Hands
For your hands, a good combination is a pair of liner gloves for warmth with a waterproof shell like rain mittens to cut the wind and keep you dry. Some people like to carry hand warmers.
Head
I like to wear a neck gaiter (buff) and hat. Buffs are a great, flexible piece of gear that you can use in so many ways to get as much or as little coverage as you want.

Feet
We’ll talk more about footwear below, but I like to wear wool socks. My choice is Darn Tough. If I expect an environment where I’m pretty sure my feet will get very wet, I might wear Sealskinz waterproof socks. They claim to be breathable, but they don’t feel very breathable in my experience. It’s a good idea to carry a spare pair of dry socks in the winter.
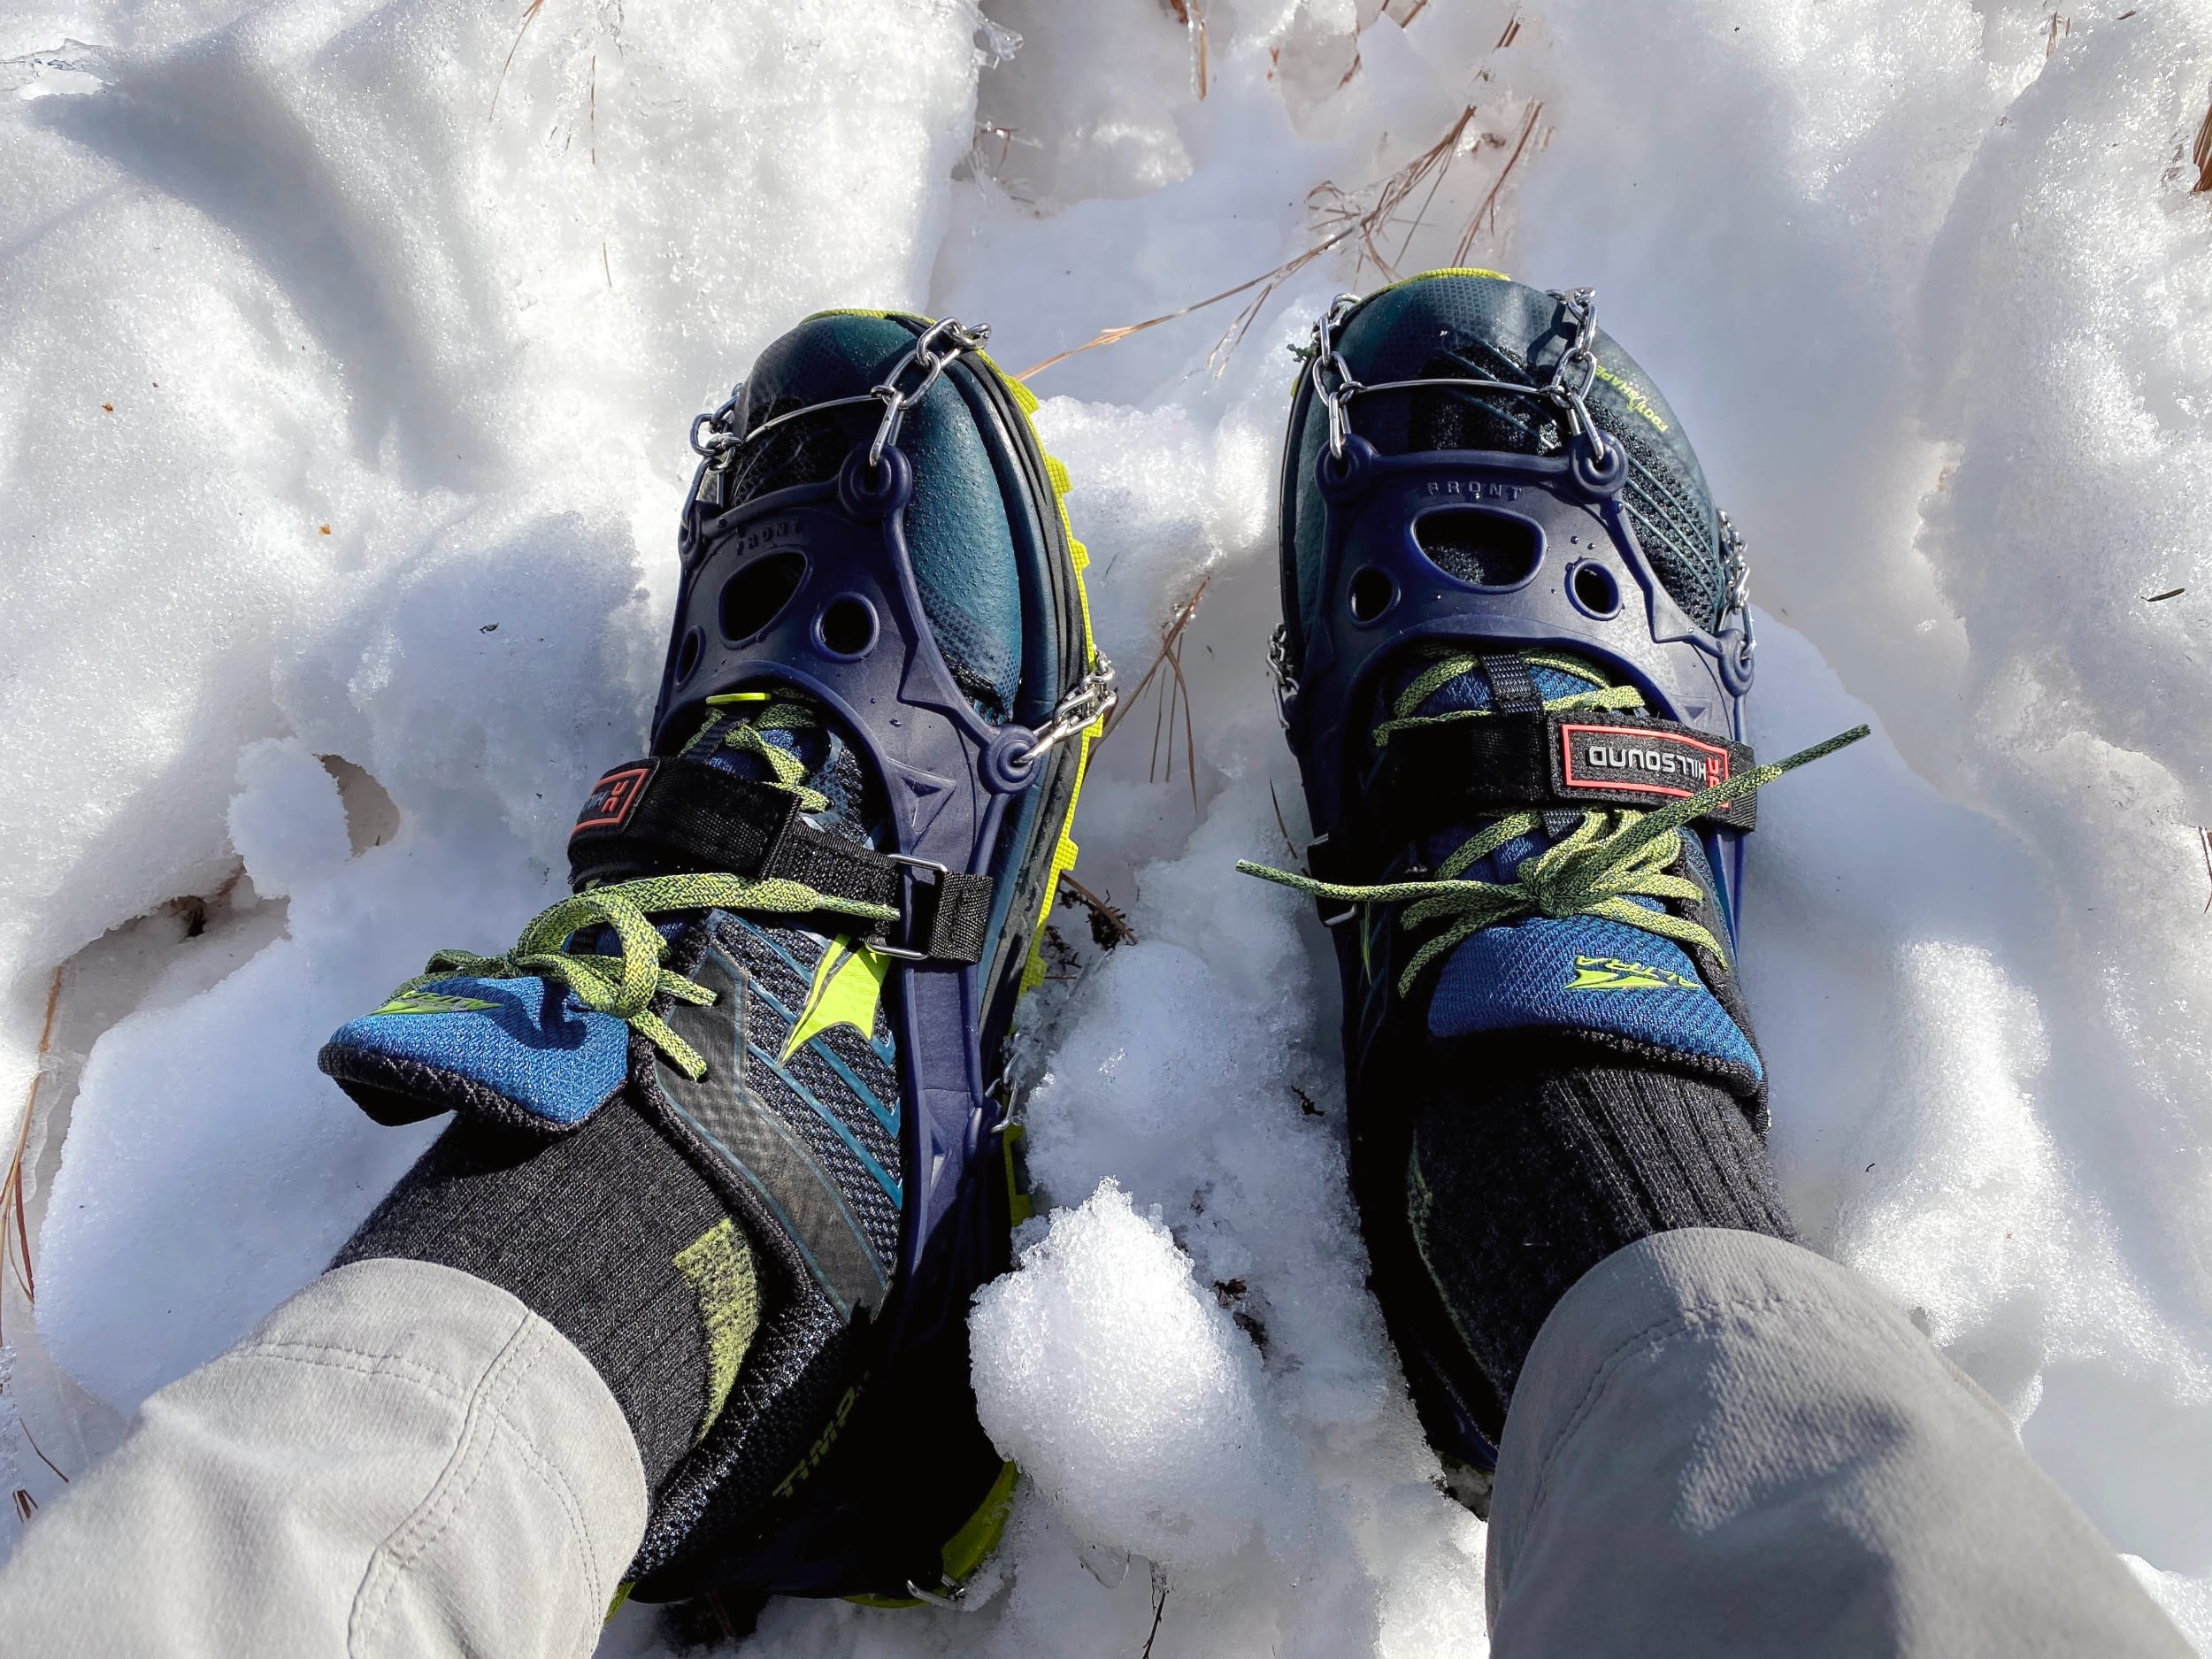
Tip 2: Bring proper footwear and traction
I wear trail runners for hiking during warmer months and even when it’s cold. But once there’s snow on the ground, it’s a different story. You want to make sure your feet stay warm and dry.
Depending on the conditions you expect, you should consider switching to waterproof boots, snow gaiters, microspikes, and snow shoes. For more technical terrain, you’ll want crampons and an ice axe, though that’s beyond the scope of this article. I almost always hike with trekking poles, but I think in the winter they’re even more important to help with maintaining balance.
Snow Gaiters
Gaiters are coverings that go over your shoes or boots and up to your lower leg to keep snow, ice, and debris out. Some options include the Rab Muztag GTX and the Outdoor Research Crocodile.
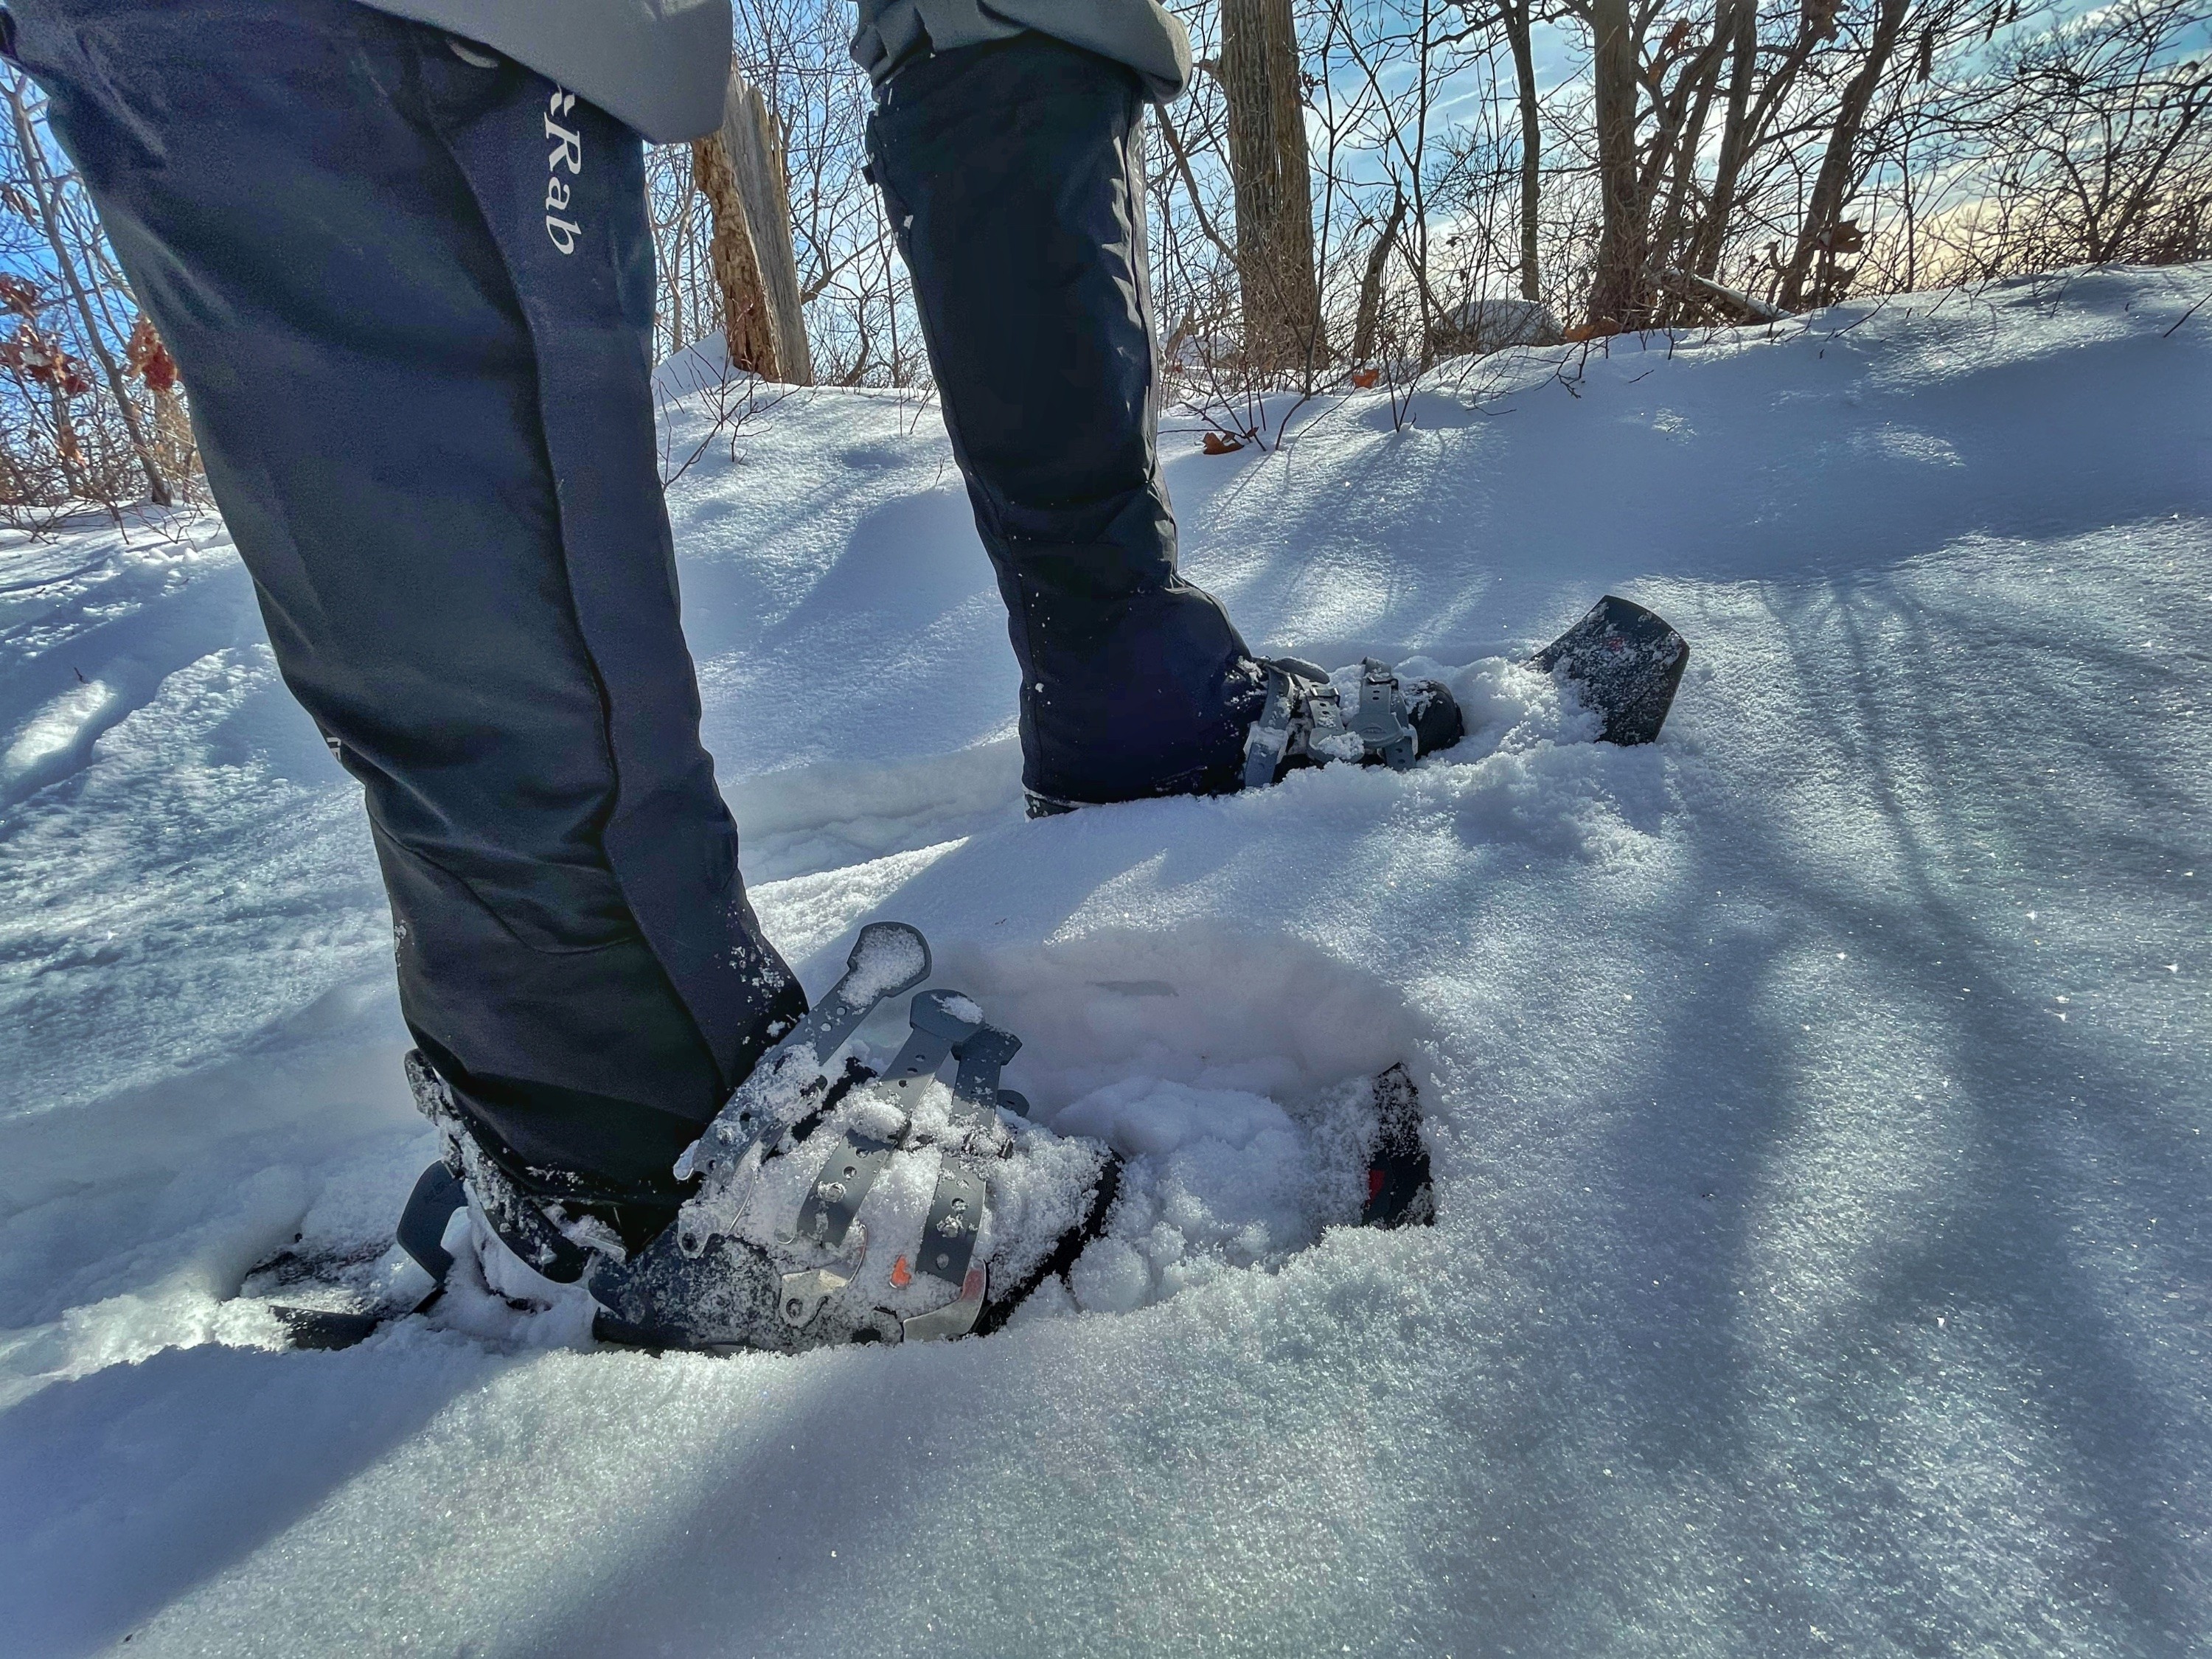
Microspikes
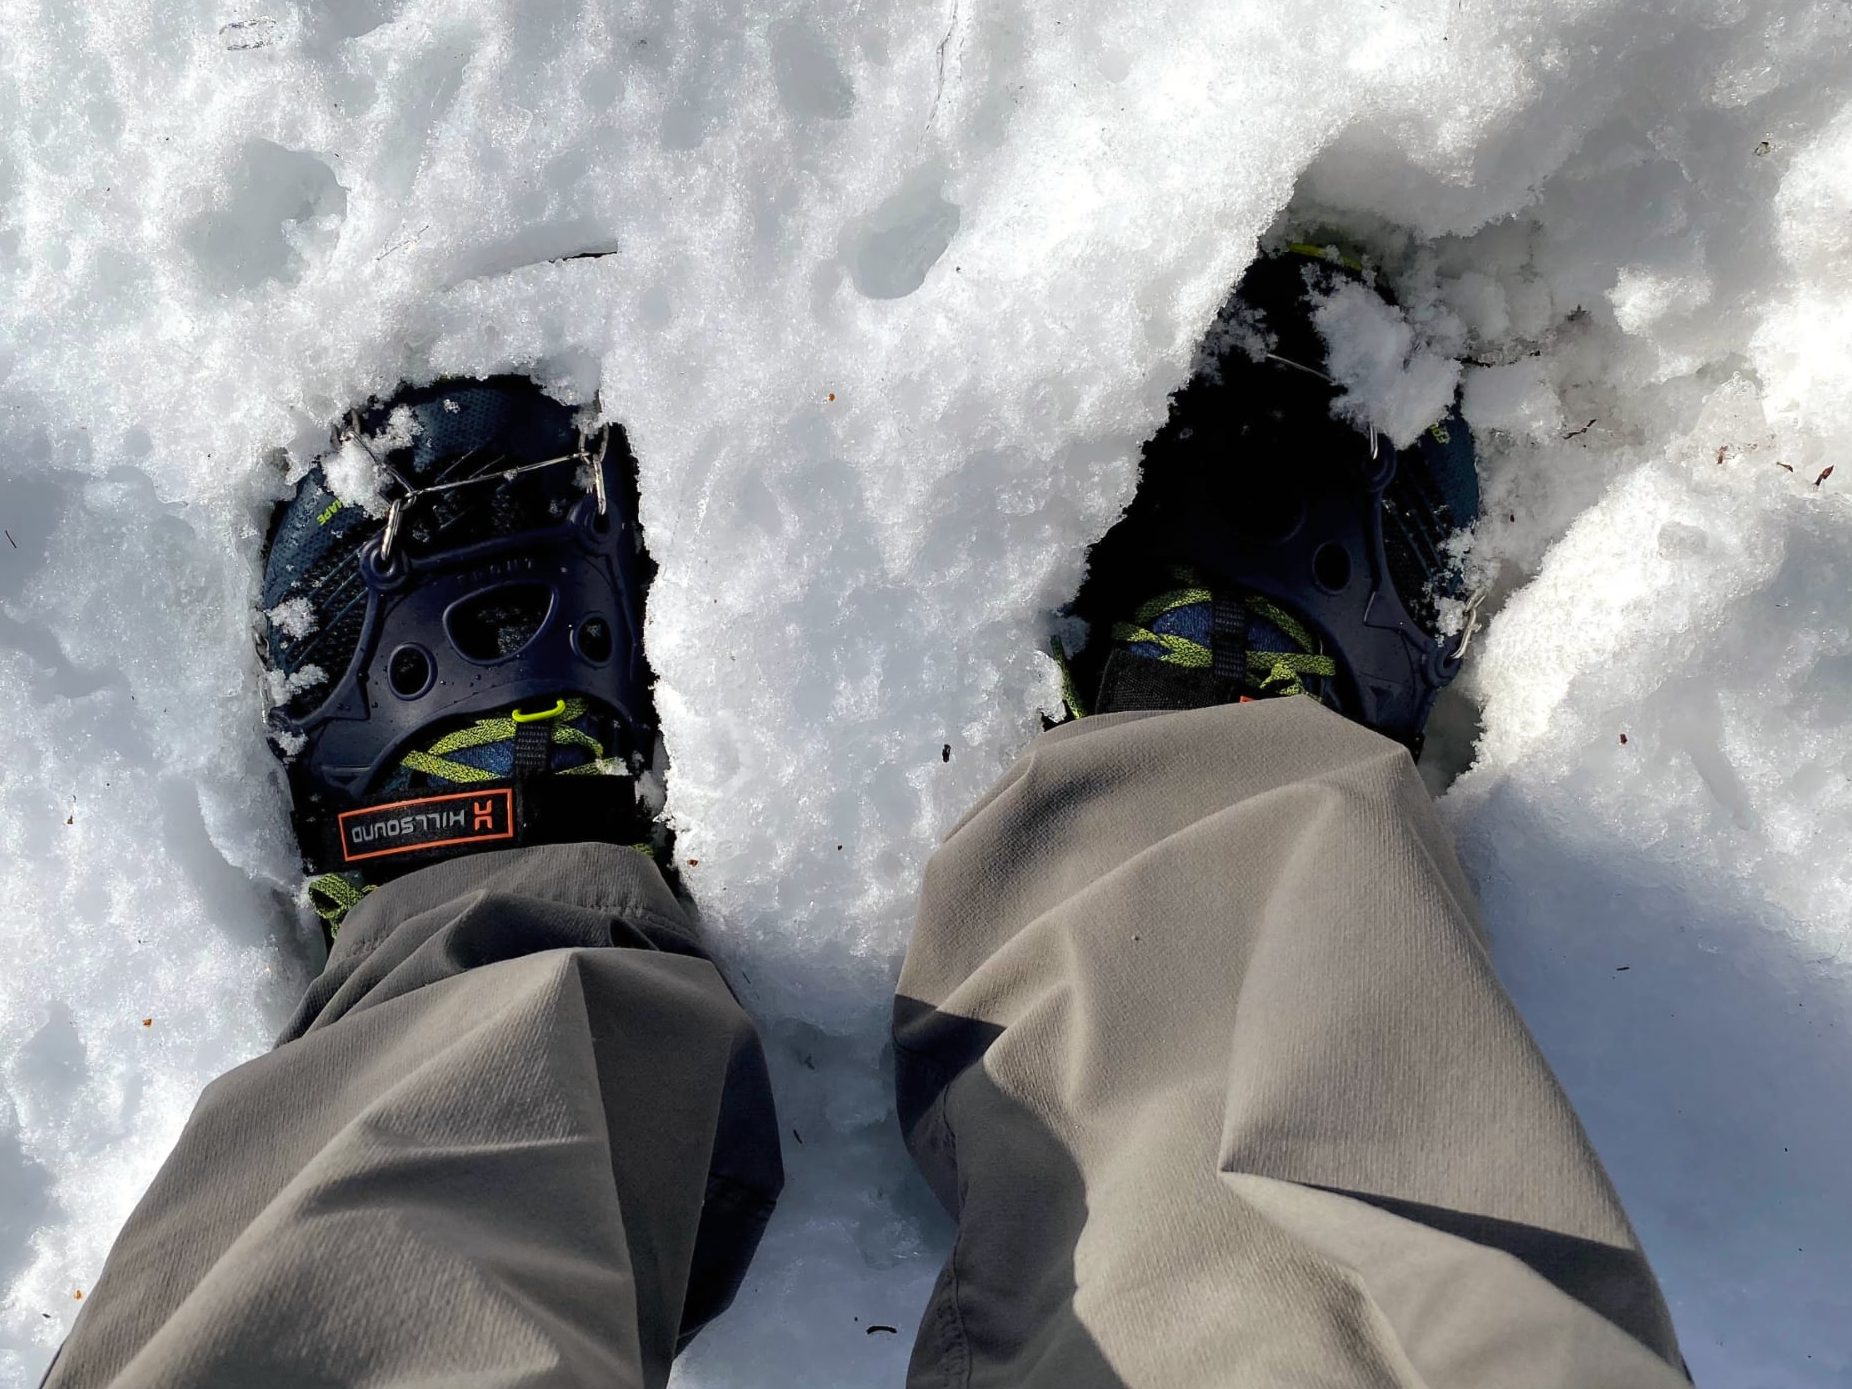
Microspikes are lightweight traction devices that go over your shoes or boots and typically feature 1/4″ to 1/2″ metal “teeth” to help grip ice and packed snow. I recommend the Hillsound Trail Crampon Ultra because unlike the popular Kahtoola MICROspokes (which also work great), the Hillsounds features a velcro strap that goes over your shoe and keeps you from losing them if they come off your shoe.

Snow shoes
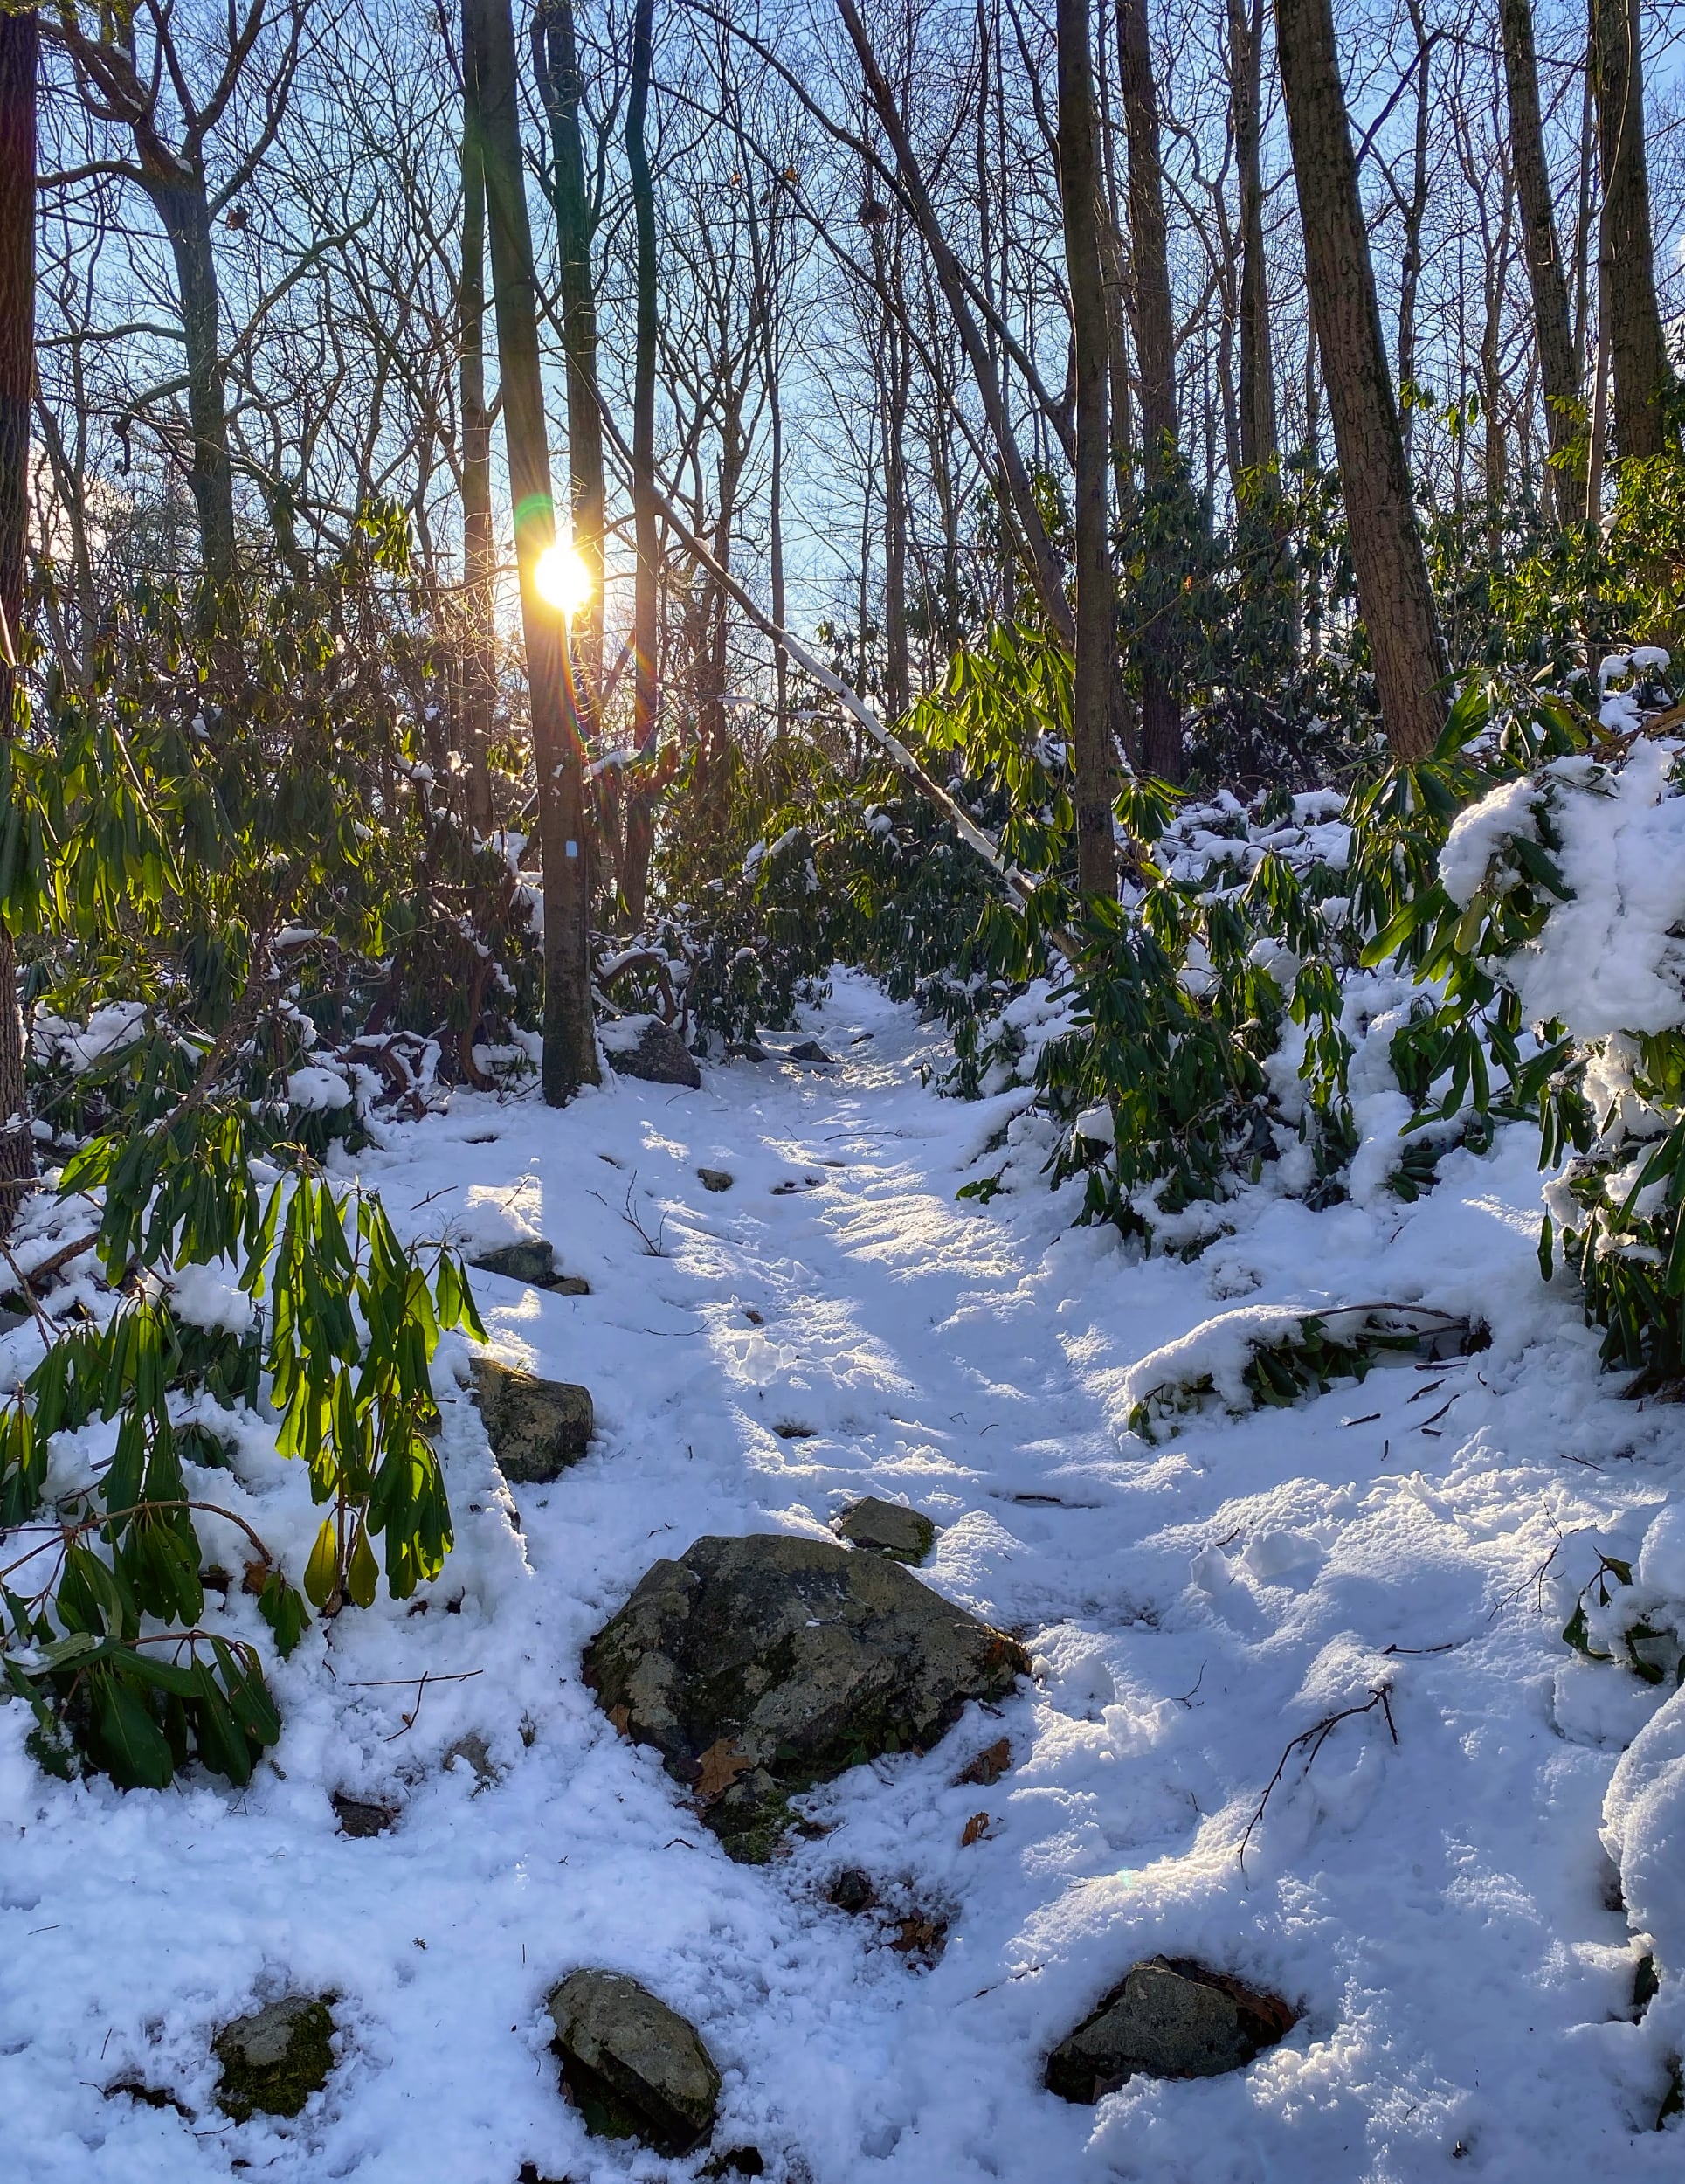
Snow shoes are floatation devices designed to spread your weight out and “float” rather than sink into deep snow. They’re not ideal for icy trails – they are best for trails with deep snow. One of the top rated models is the MSR Lightning Ascent. A great, more budget friendly option is the MSR Eco Ascent.
So, what equipment should you bring?
You won’t always know what conditions you will find on the trail so it’s best to carry a variety of gear and be prepared for whatever winter hiking conditions you might reasonably encounter. And if the conditions are beyond what you’re prepared for, you can – and should – turn around. The table below summarizes the kind of gear that’s appropriate depending on the conditions.
| Conditions | Trail runners | Boots | Gaiters | Spikes | Snow Shoes |
|---|---|---|---|---|---|
| Cold, but no snow or ice. | ✔ | ✔ | |||
| Heavily trafficked trail. May have ice or packed snow. | ✔ | ✔ | ✔ | ||
| Small to moderate amounts of snow | ✔ | ❓ | ✔ | ❓ | |
| Deeper unpacked snow | ✔ | ✔ | ❓ | ✔ |
Tip 3: Research, Anticipate Problems & Act Conservatively
Do your research
When it’s cold, icy and snowy, your margin for error is much lower than in warmer months. If you were to get lost or injured in the mountains during the summer, you could likely survive a few nights even if you weren’t properly prepared. But in the winter, sub-freezing temperatures make hypothermia a very real risk.
You may be used to grabbing your hiking bag and running out the door for a summer hike, but before you leave home, you should do your research on what kind of conditions to expect. Look up the weather forecast, snow cover maps, and reports from other hikers on web forums or Facebook groups. Is it a popular trail or is it (literally) off the beaten path? Look at maps: is the terrain steep or flat? Does it cross water?
Anticipate
Based on the information you gathered, determine whether it’s likely that the trail will be clear of snow, packed with snow and ice, or covered in unpacked fresh snow? Do you expect snow, sleet, wind, or rain – cold or milder weather? Will there be downed trees blocking the trail? The better you can anticipate conditions, the better you can prepare for those conditions.
Bring the right gear for contingencies
Depending on the conditions you anticipate, you should decide what kind of footwear and traction to bring as well as what layers of clothing you may need.
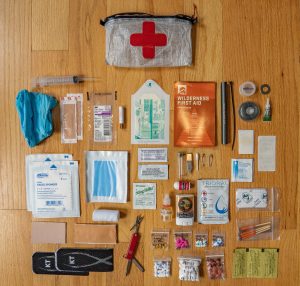
Regardless, always carry the 10 Essentials. In the winter, it’s more important than ever. If you needed to, could you stay warm and survive a cold night in the mountains? If not, you might not be ready for a winter hike.
Act conservatively
The stakes are higher in the winter. If you make a mistake, the consequences could be much worse. Be conservative in your decision making. If you find yourself in a situation that you’re unsure about or questioning your ability to proceed, play it safe.
When in doubt, turn around.
There’s no shame in turning around. The mountain will still be there next time.
I once hiked a trail that I expected would be icy or have packed snow, so I wore microspikes on trail runners, without gaiters. It turned out the snow was up to a foot deep in some areas, and my shoes quickly got wet and cold from the snow.
I realized my feet were getting cold and partly numb. I had wanted to hike a few miles further, but I made the decision to turn around and head back to the car and warm up my toes.
Would my feet have been fine if I had continued? Probably, but it wasn’t a risk I wanted to take. I returned the next week and completed the hike I had intended to do.
Tip 4: Things don’t work the same in the cold
It may be obvious, but if you’ve only hiked in the summer, you may not fully anticipate the impacts of cold weather until you experience it.
Batteries tend to drain faster in the cold. Keep electronics under your jacket and close to your core to keep them warm. Bring a paper map as a backup to your phone app (and know how to use it).
Water. The hose on your reservoir will freeze when it’s cold enough. Options include getting an insulated tube, blowing the water back into the reservoir after drinking, or carrying insulated wide-mouth bottles (Nalgenes, for example). Keep the bottles upside down and near your body so the caps doesn’t freeze. Fill your bottles with boiled water before your hike. And most importantly – remember to stay hydrated. You may not notice it because of the temperature, but you’re losing a lot of moisture to the cold, dry environment.
Water filters. When hollow fiber tube filters freeze, the remaining water inside expands and cracks the tiny tubes. You won’t notice it (until you possibly get sick), but your filter will no longer be able to effectively filter water. Keep your filter somewhere warm, including inside your sleeping bag when you sleep.
Headlamp. It gets dark earlier in the winter. Make sure your headlamp is charged and you have spare power for it.
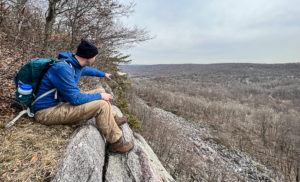
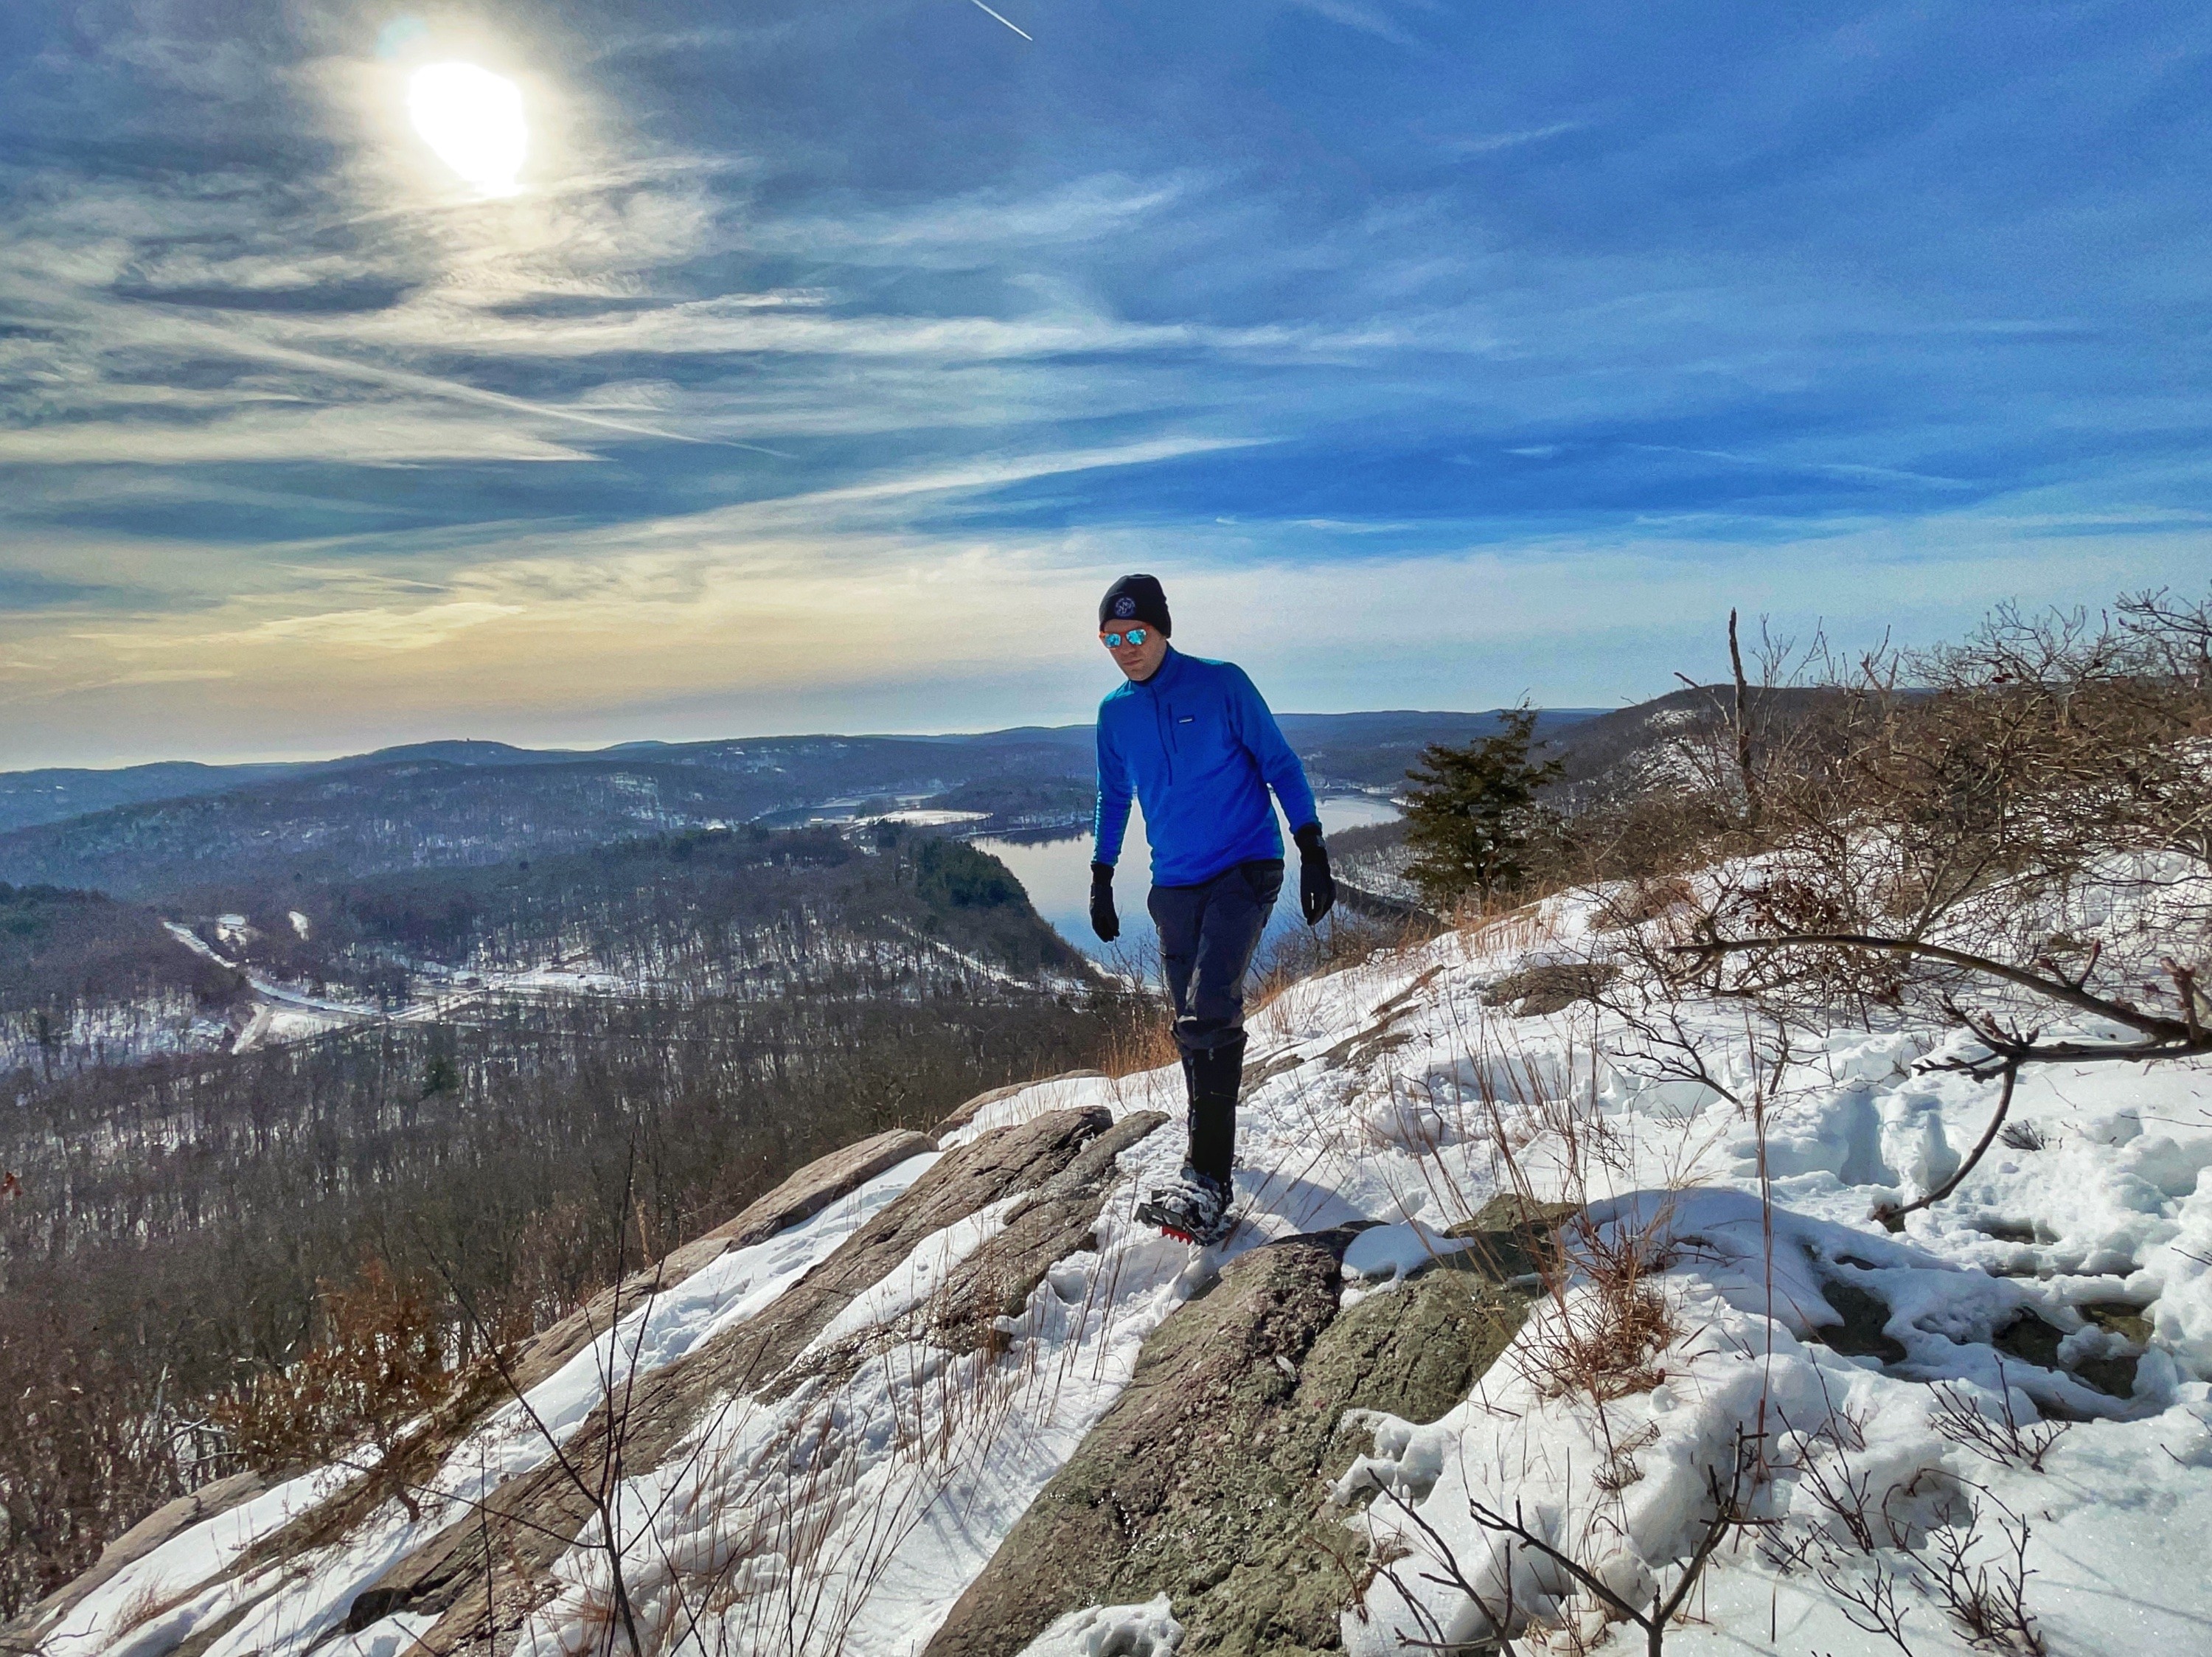
Tip 5: Have fun!
The most important thing of all is just to get out there and (safely) have fun.
Start small with shorter, easier trails under easy to moderate conditions. If you make mistakes, make them while the stakes are lower. Over time, work your way up as your experience level and winter hiking skills improve.
At the end of the day, hiking is supposed to be fun. If the conditions are terrible and you don’t think you’ll enjoy it, find another trail or go another day. The mountains will still be there..